


Autumn Woodland Ceramics Project
Autumn Woodland Ceramics Project
Creative triumphs, mishaps, and learning opportunities.

In today’s newsletter, an ambitious, autumn-themed, ceramics project yields lessons about materials, creativity, patience. This article is for all subscribers; a creative process video at the end will unlock at a future date for Free Subscribers, but it is available as a bonus to Paid Subscribers right now.
Natural beauty and function
Is it too early to say happy autumn? If so—the chill in the morning air says otherwise! Happy September, at least.
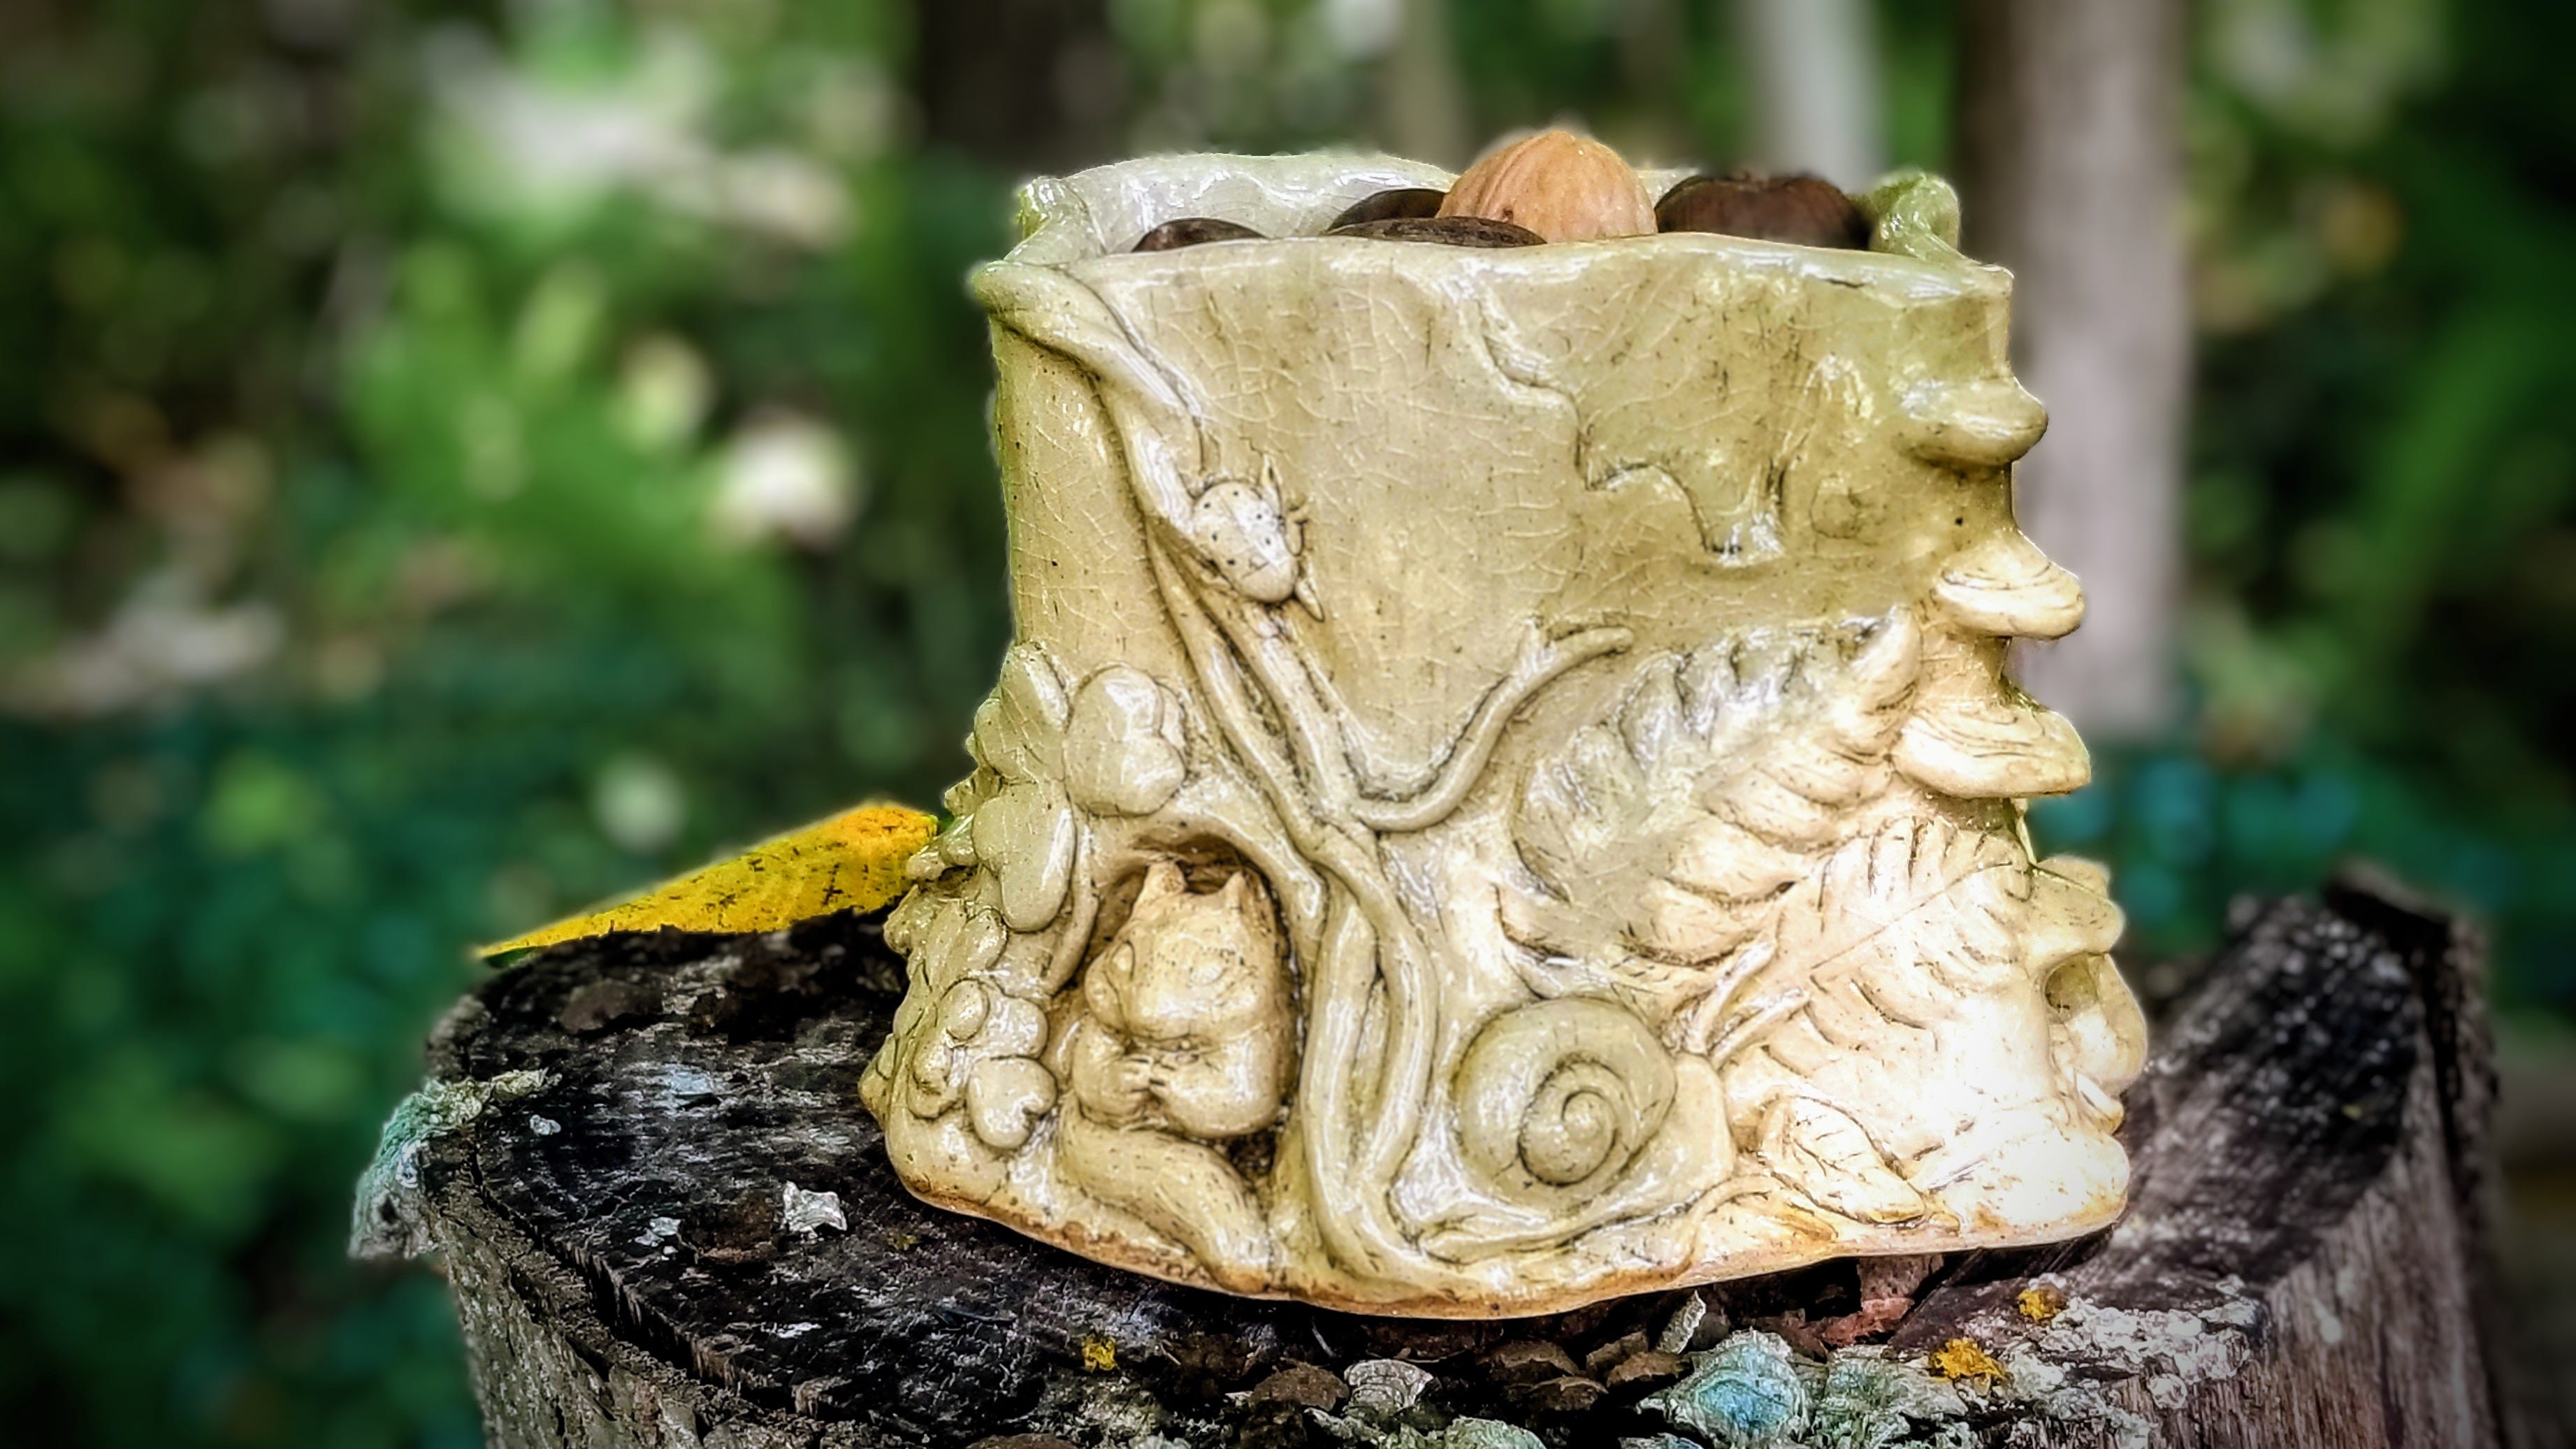
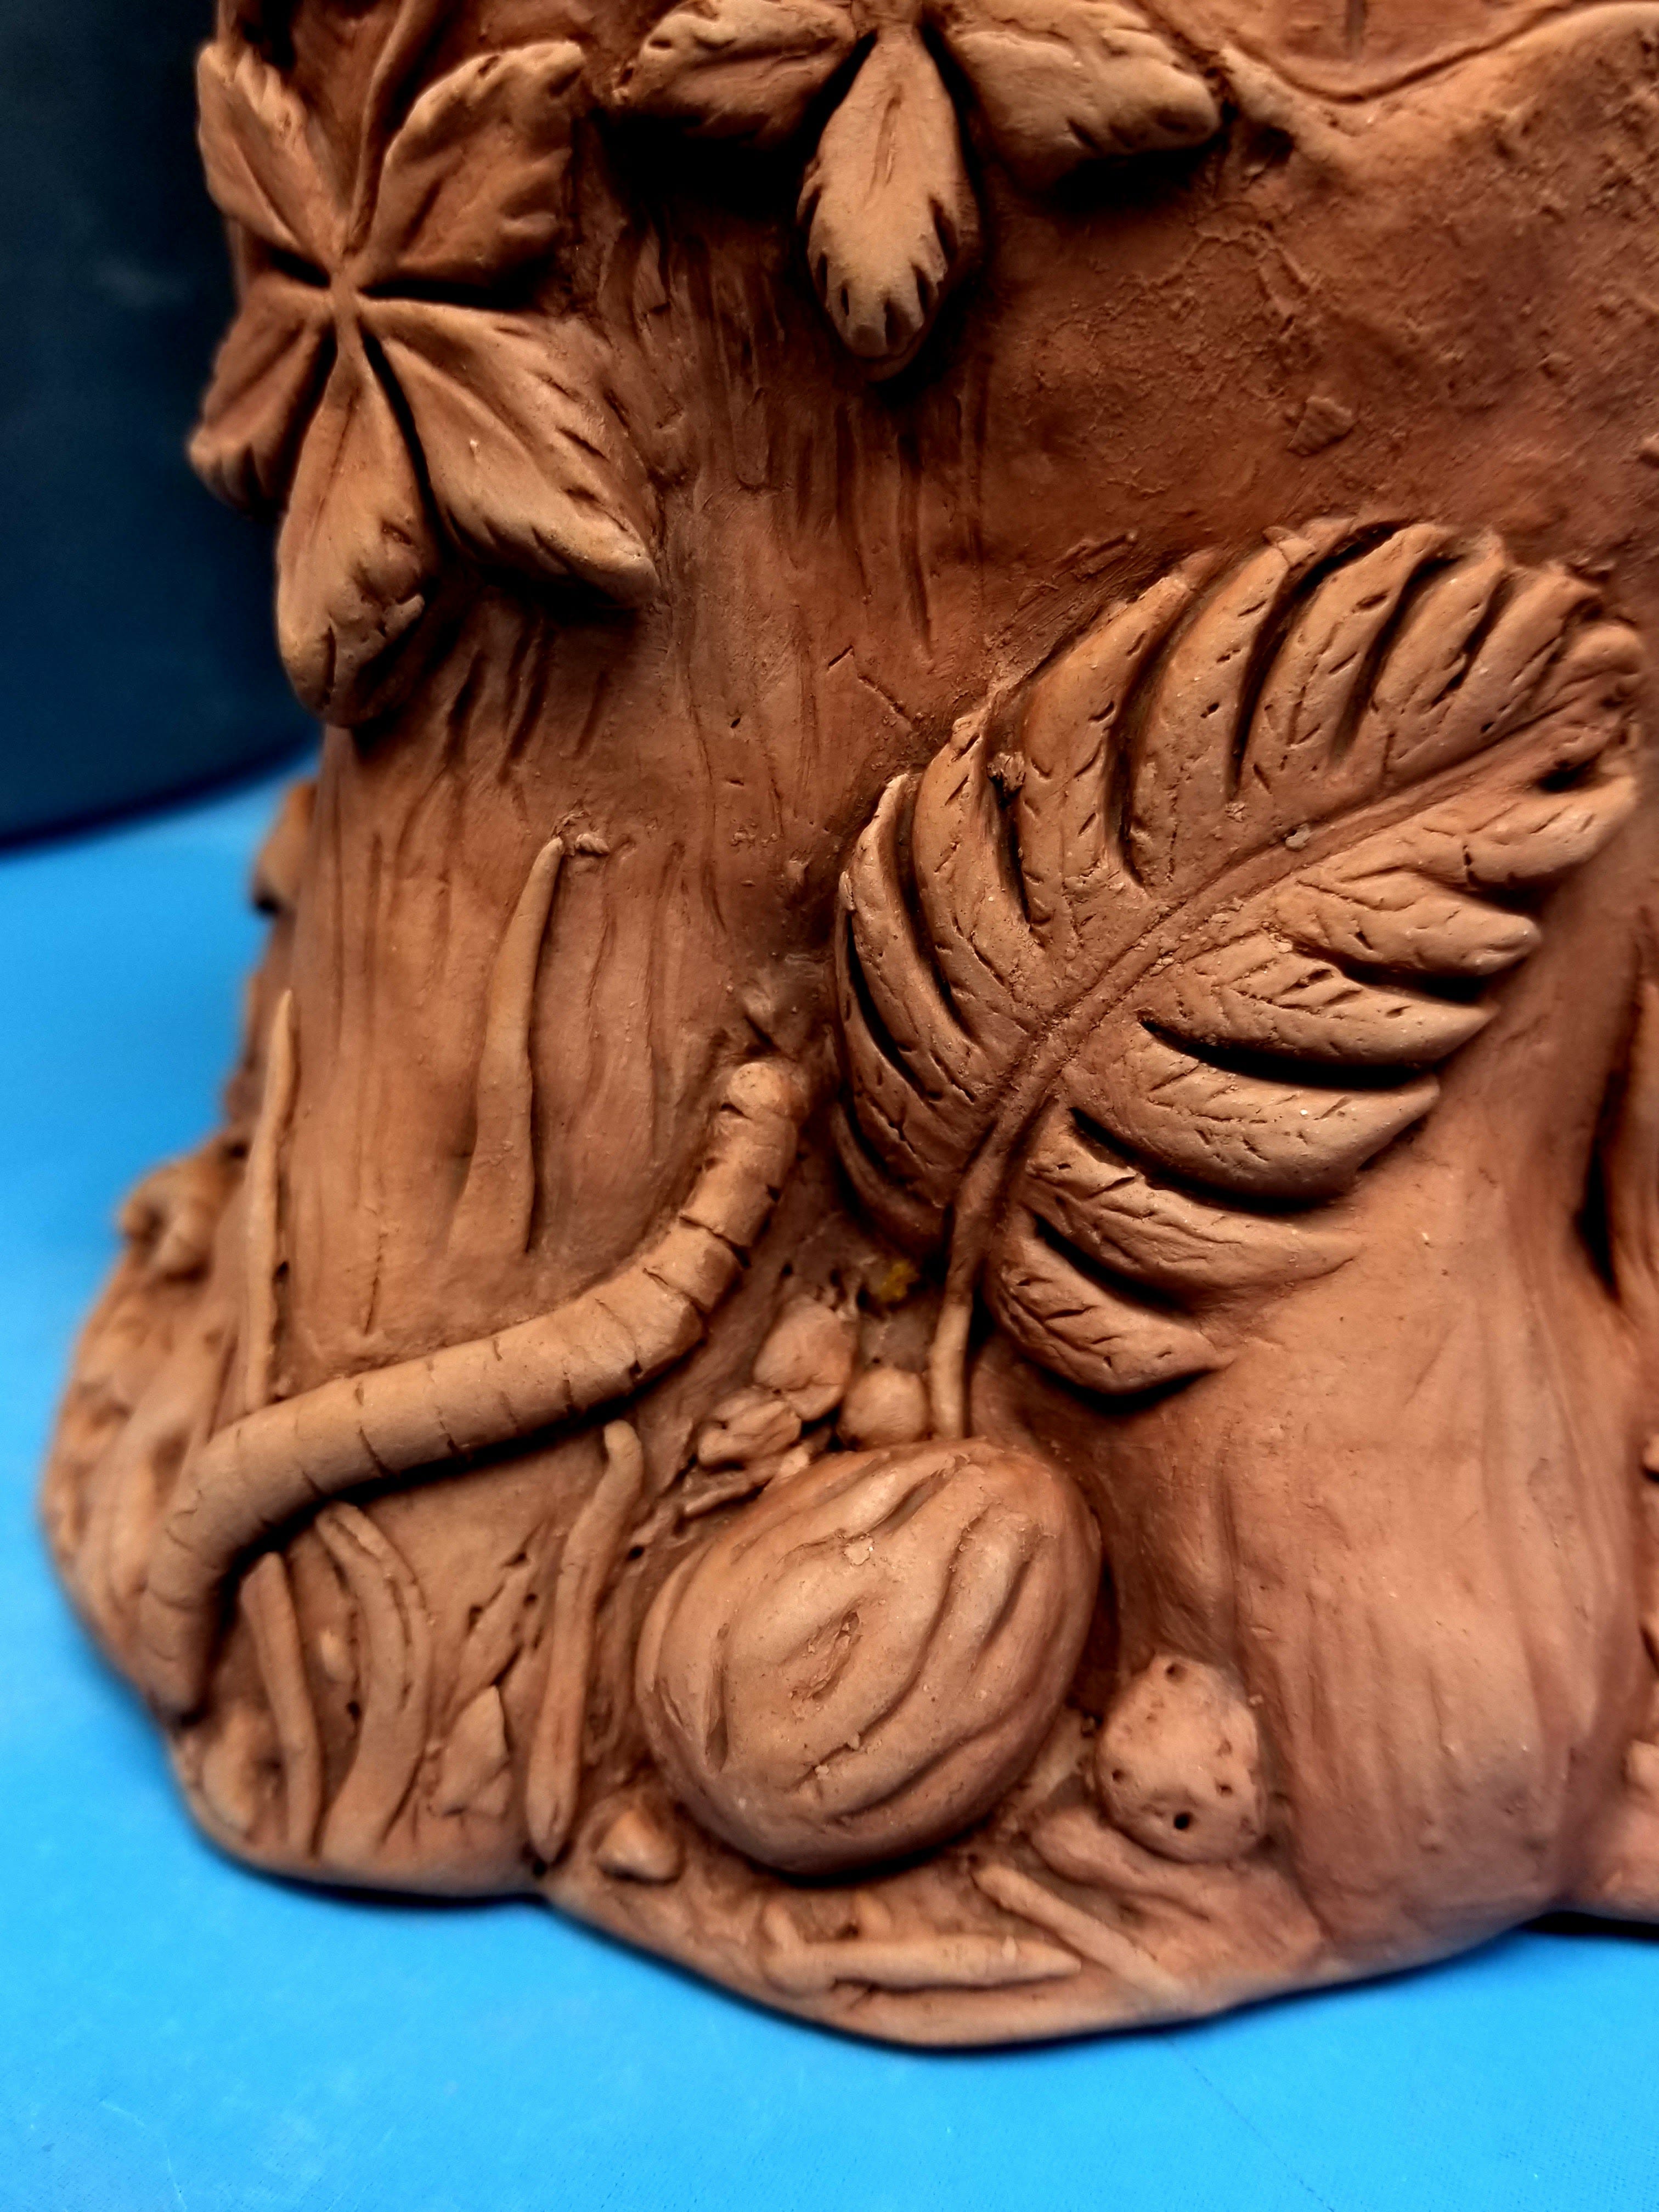
I’ll soon be teaching a two-part ceramics workshop called Autumn Woodland Creature Vessel. My goal was to create an otherworldly, intimate peek at life on the forest floor—in a functional vessel that can be used as a wooden kitchen utensil holder, a nut or candy dish, or even a planter.
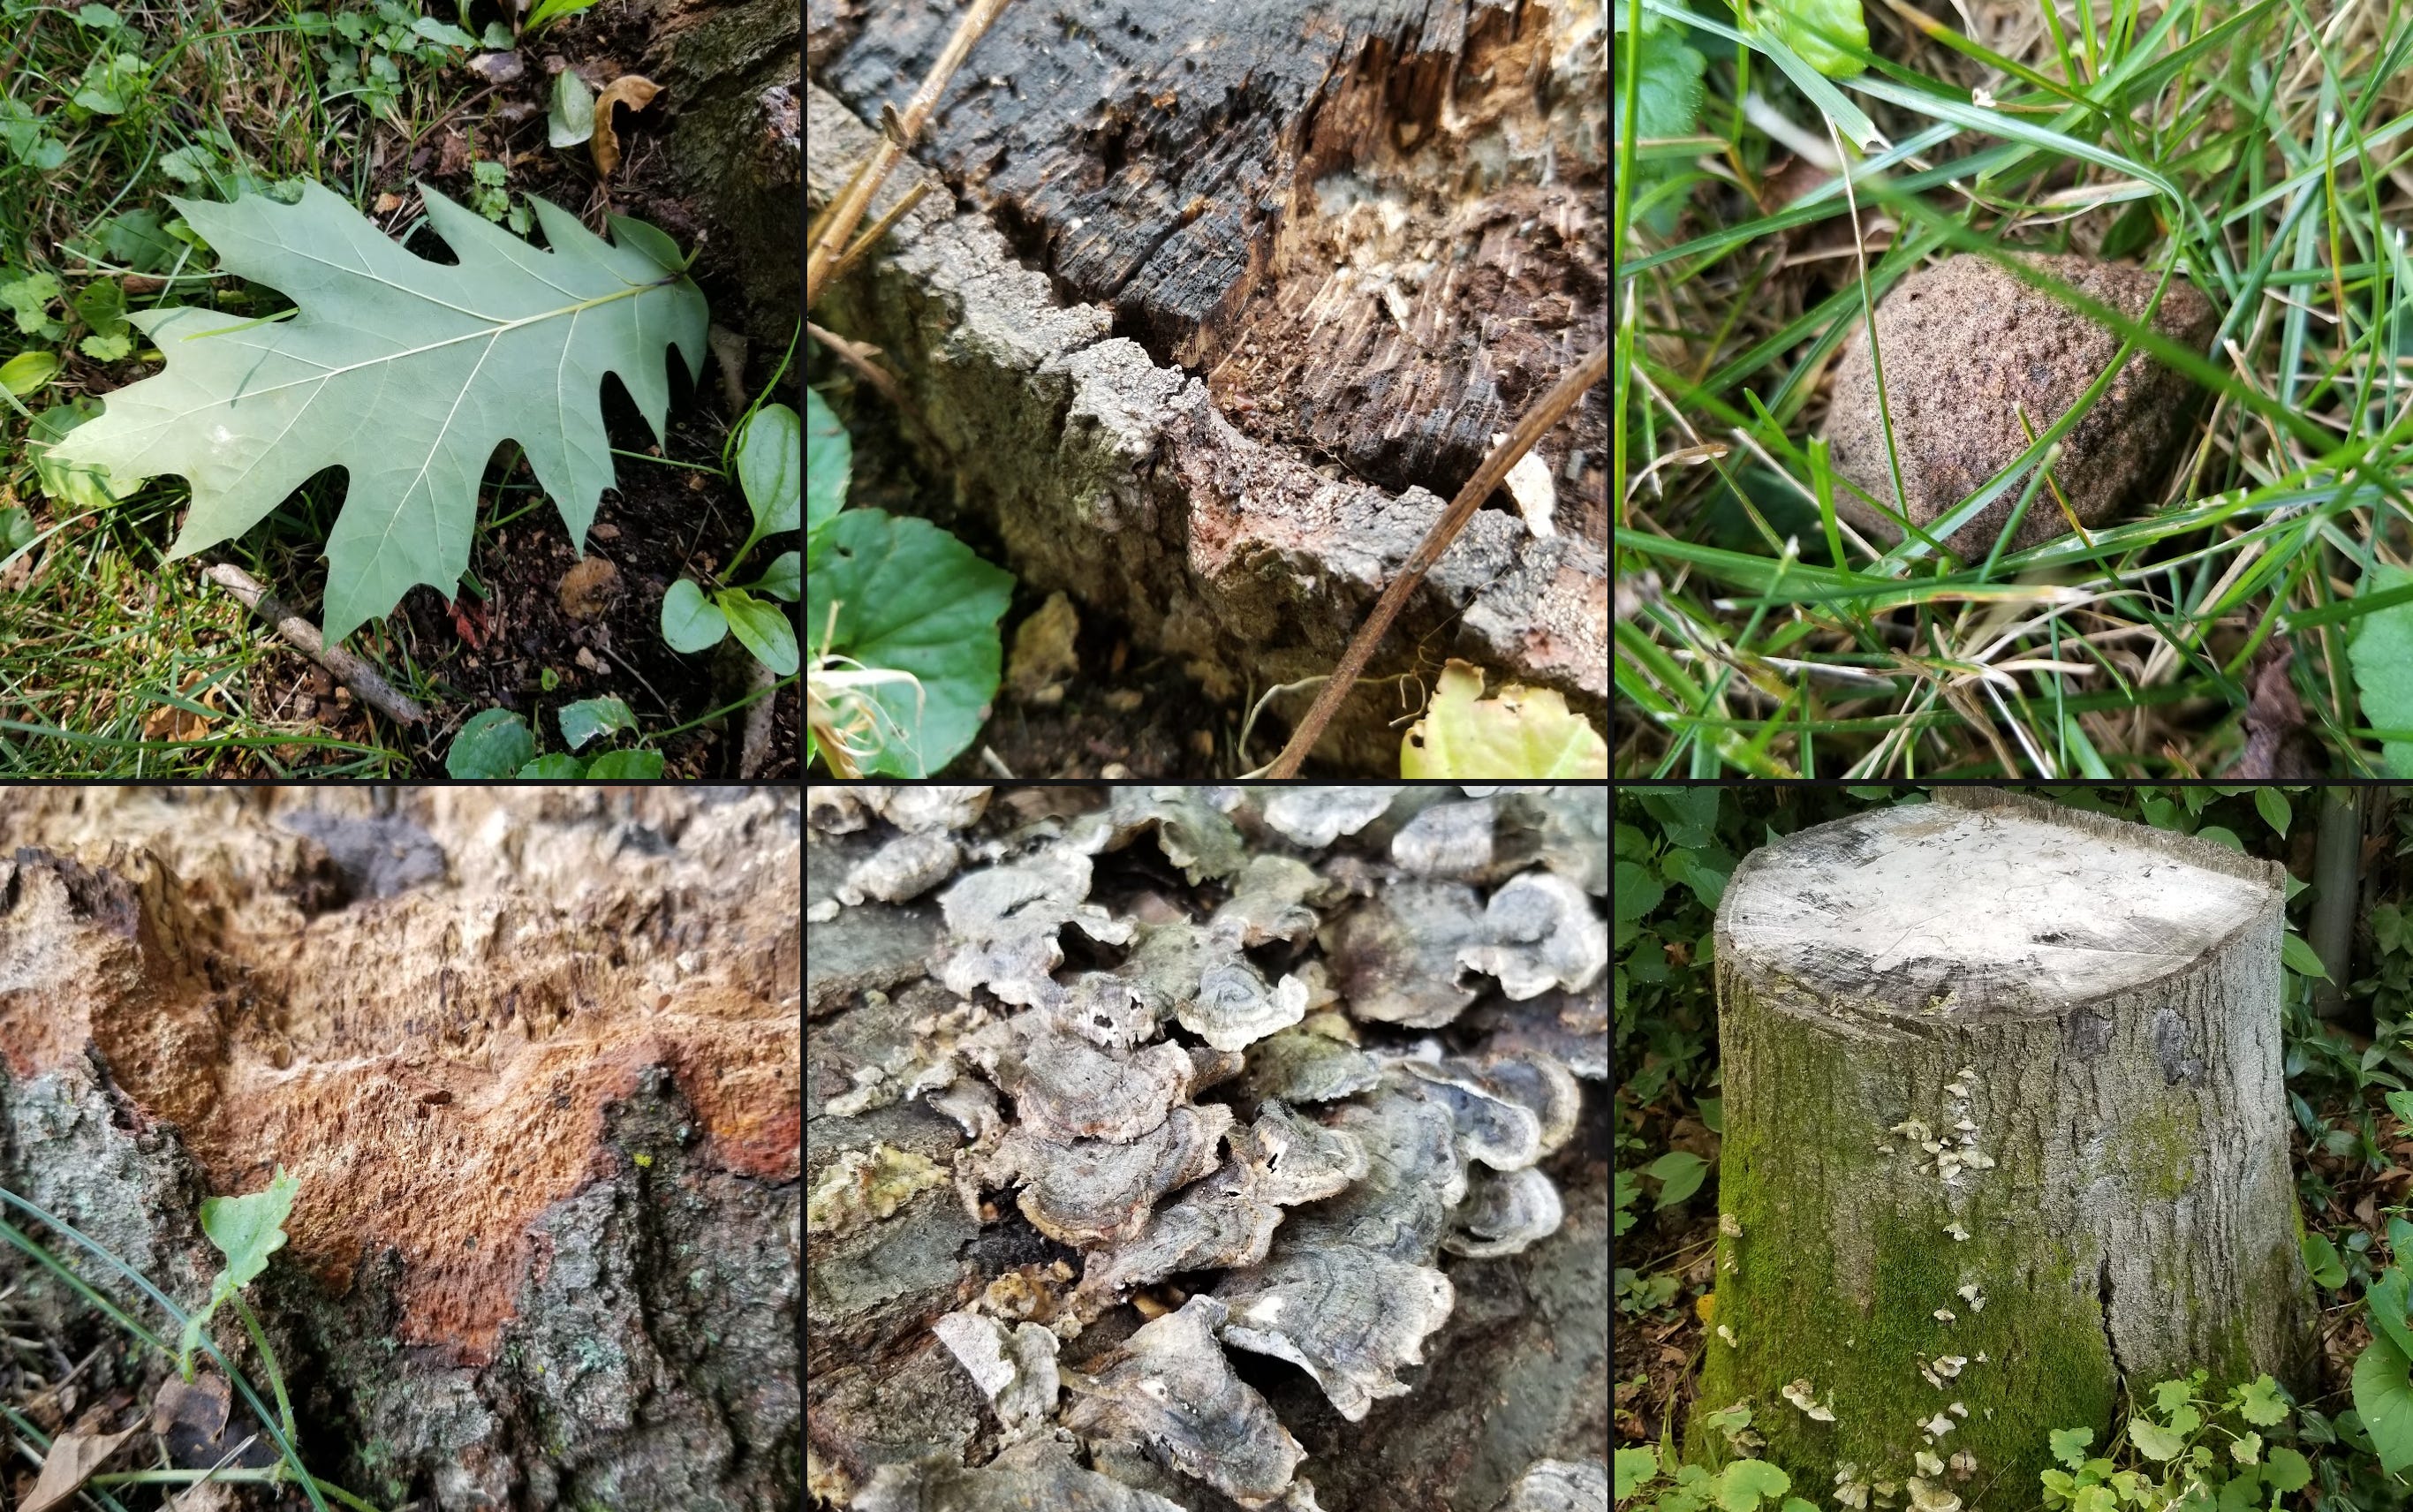
To that end, I went into the woods and photographed ferns, lichens, fungi, leaves, mossy tree stumps, and small creatures like snails, bees, millipedes, and chipmunks. The process—from concept, to photo research, to final product—was both creatively challenging and satisfying.
By the way, if you’d like to join my workshop this October (and you live near southeast Pennsylvania) you can register at this link before October 1.
Lessons learned from mistakes
Mistakes are a natural part of the creative process, and opportunities to learn. I learned several lessons while designing this challenging project, which I’ll share with you here.
(Note: if you join the workshop, the scope of my ambitious demo probably exceeds what is possible during the allotted time of six hours. But, I tried to model every kind of flora, fauna, and fungi anyone might want to sculpt on theirs—which means you’d likely want to sculpt less things than I did, anyway.)
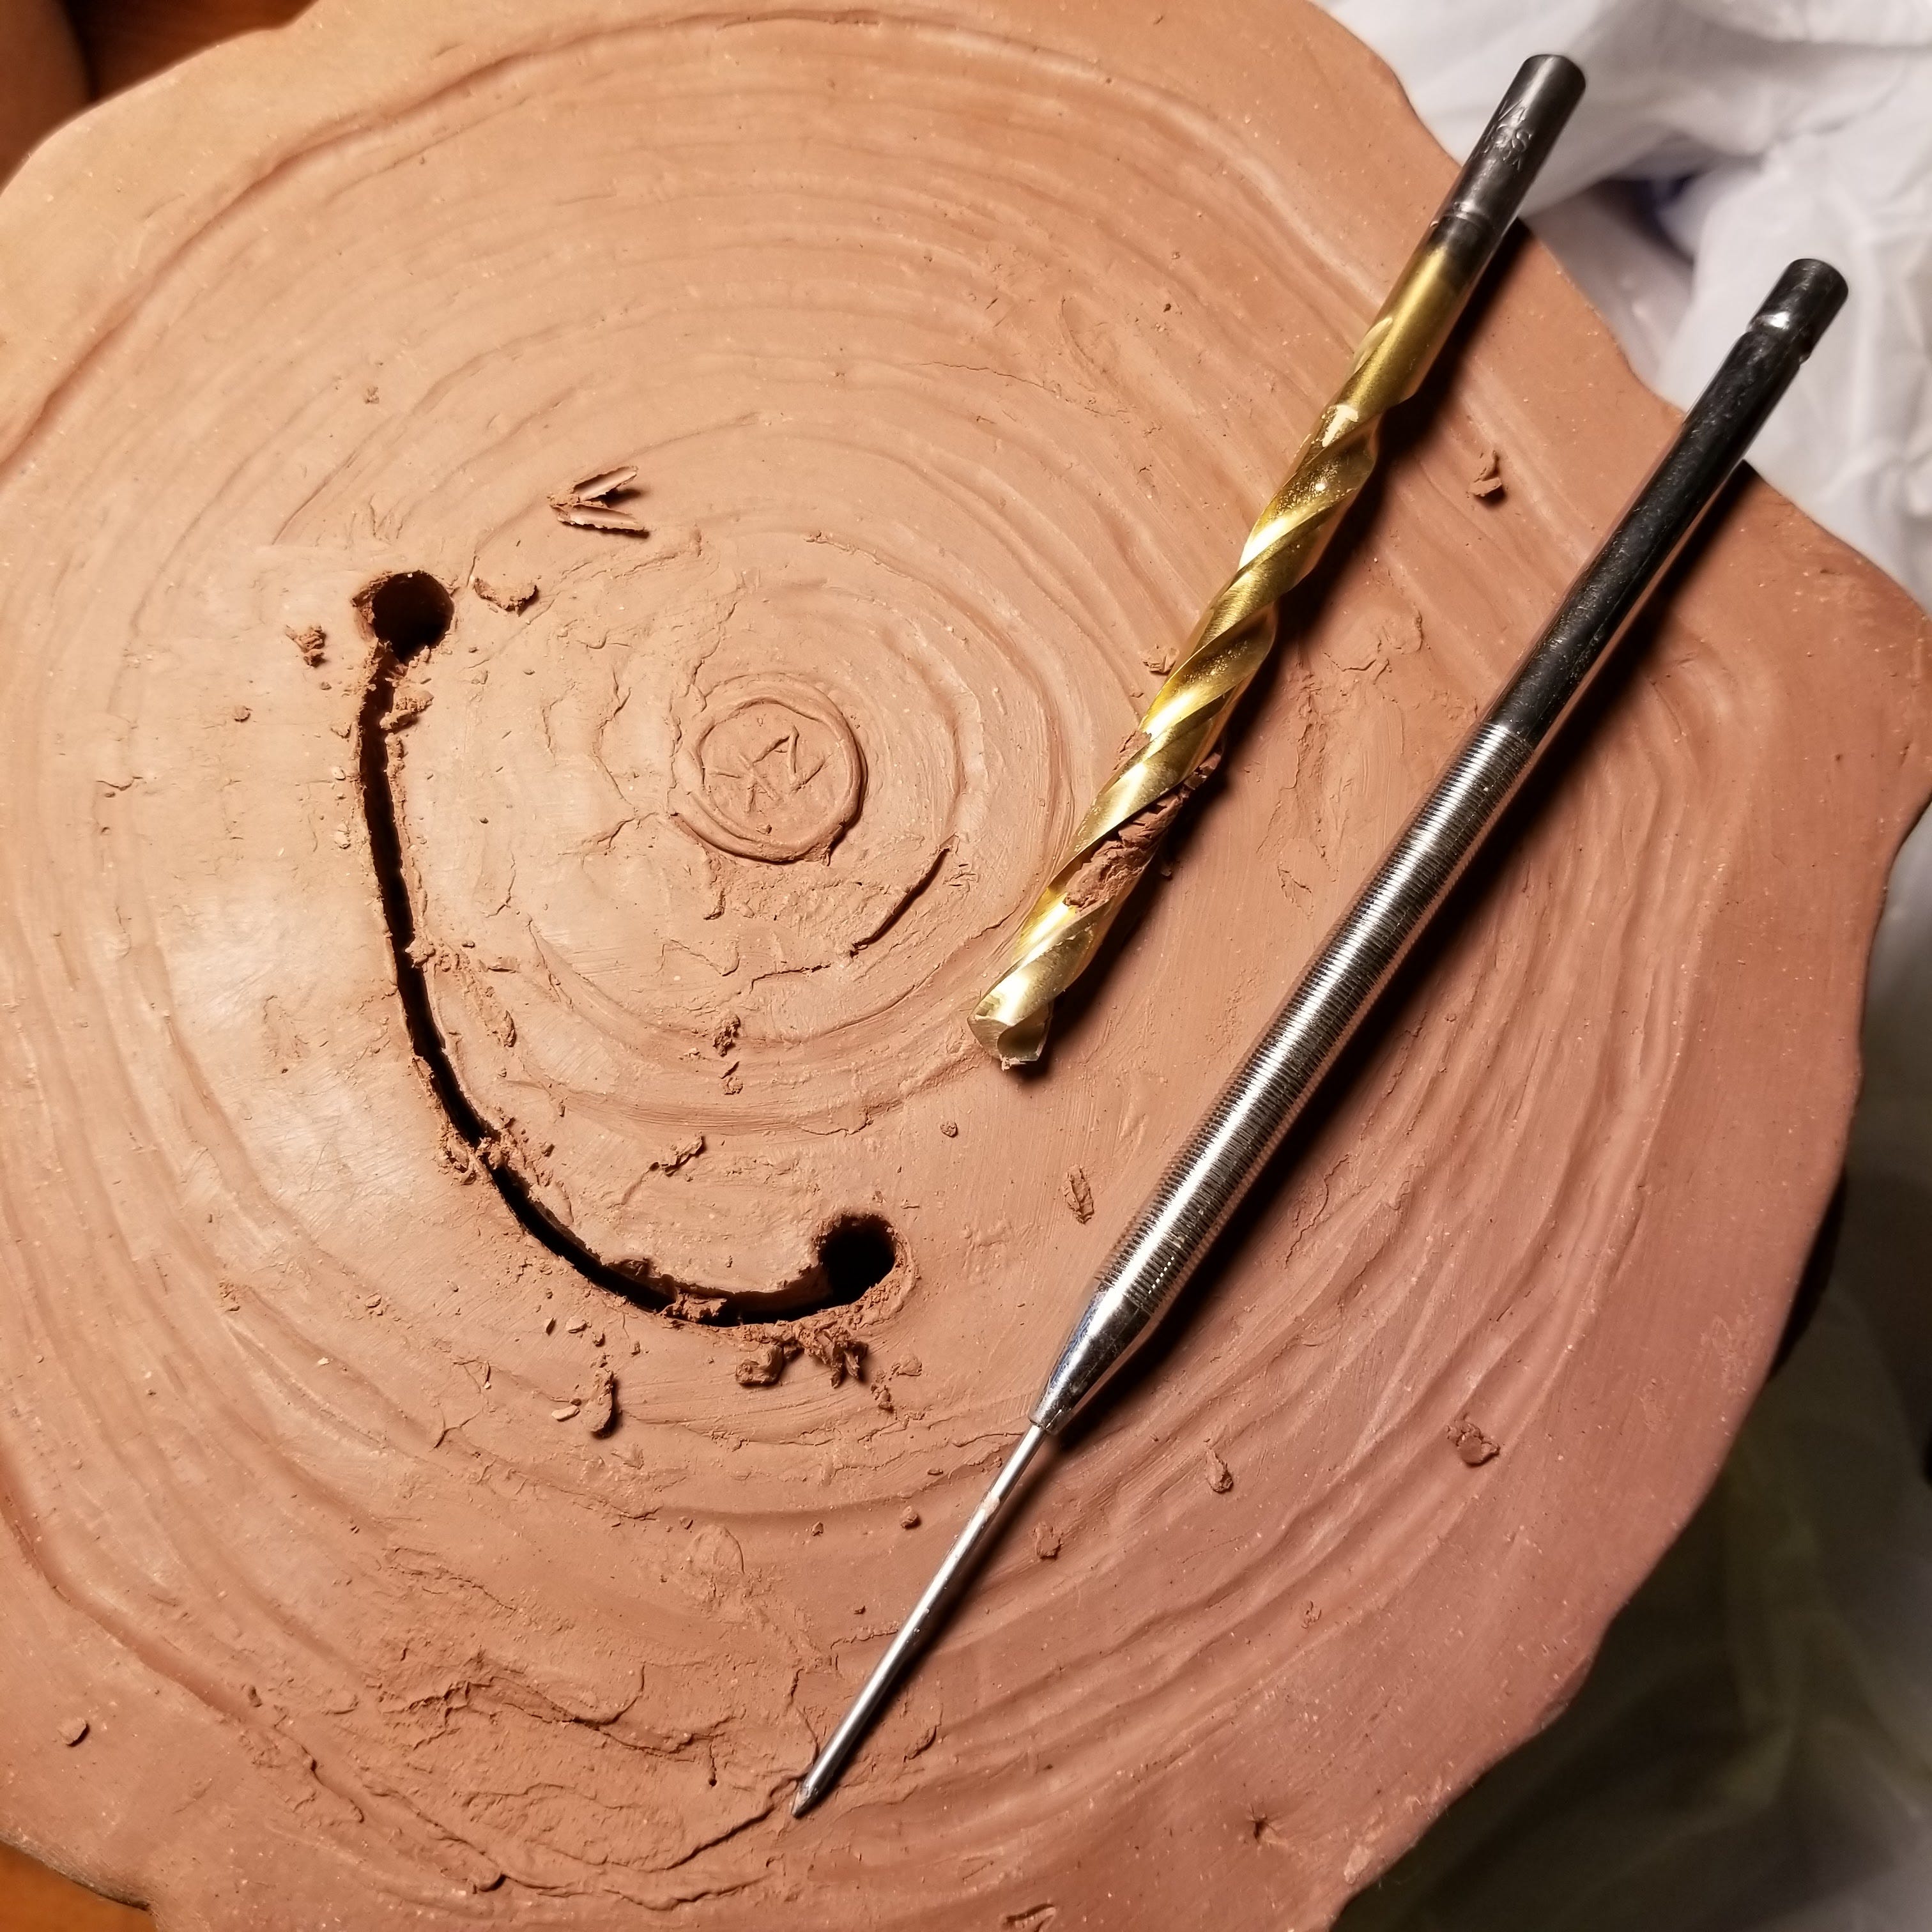
Standing water makes cracks
Allowing water to stand in the base of an un-fired (greenware) clay vessel causes the floor of the vessel to swell and expand against relatively dry clay; with no where to move, cracks will develop, revealing themselves during the drying and firing processes.
I attempted to fix the cracks with slip made of clay and vinegar; the added moisture exacerbated the problem. I switched to a very dry, sticky mixture of dissolved tissue paper pulp blended with clay. I packed it into the excavated cracks, and this survived drying and bisque firing (the first, low-temperature firing).
But, during the second, high-temperature glaze firing, the cracks reopened on the unglazed, bottom side. I learned that had I glazed both top and bottom surfaces of the base, it is less likely that cracks would have reappeared. (I left the bottom side unglazed out of concern of it sticking to the kiln shelf, because the “foot”—the unglazed, raised rim around the bottom edge—was rather shallow.)
Problem: Standing water causes cracks to form.
Fix: Use paper clay to patch the cracks.
Preventative measures: Don’t allow water to pool in the bottom of the greenware clay object. Frequently sponge out water (use a sponge attached to a stick if necessary). Cover with plastic, and allow the project to dry slowly. Glaze top and bottom sides of the bottom of the bisqueware vessel.
Over-glazing
Ceramic studio technicians will glaze and fire your piece for you in the weeks following my workshop. But, for the sake of interest and learning:
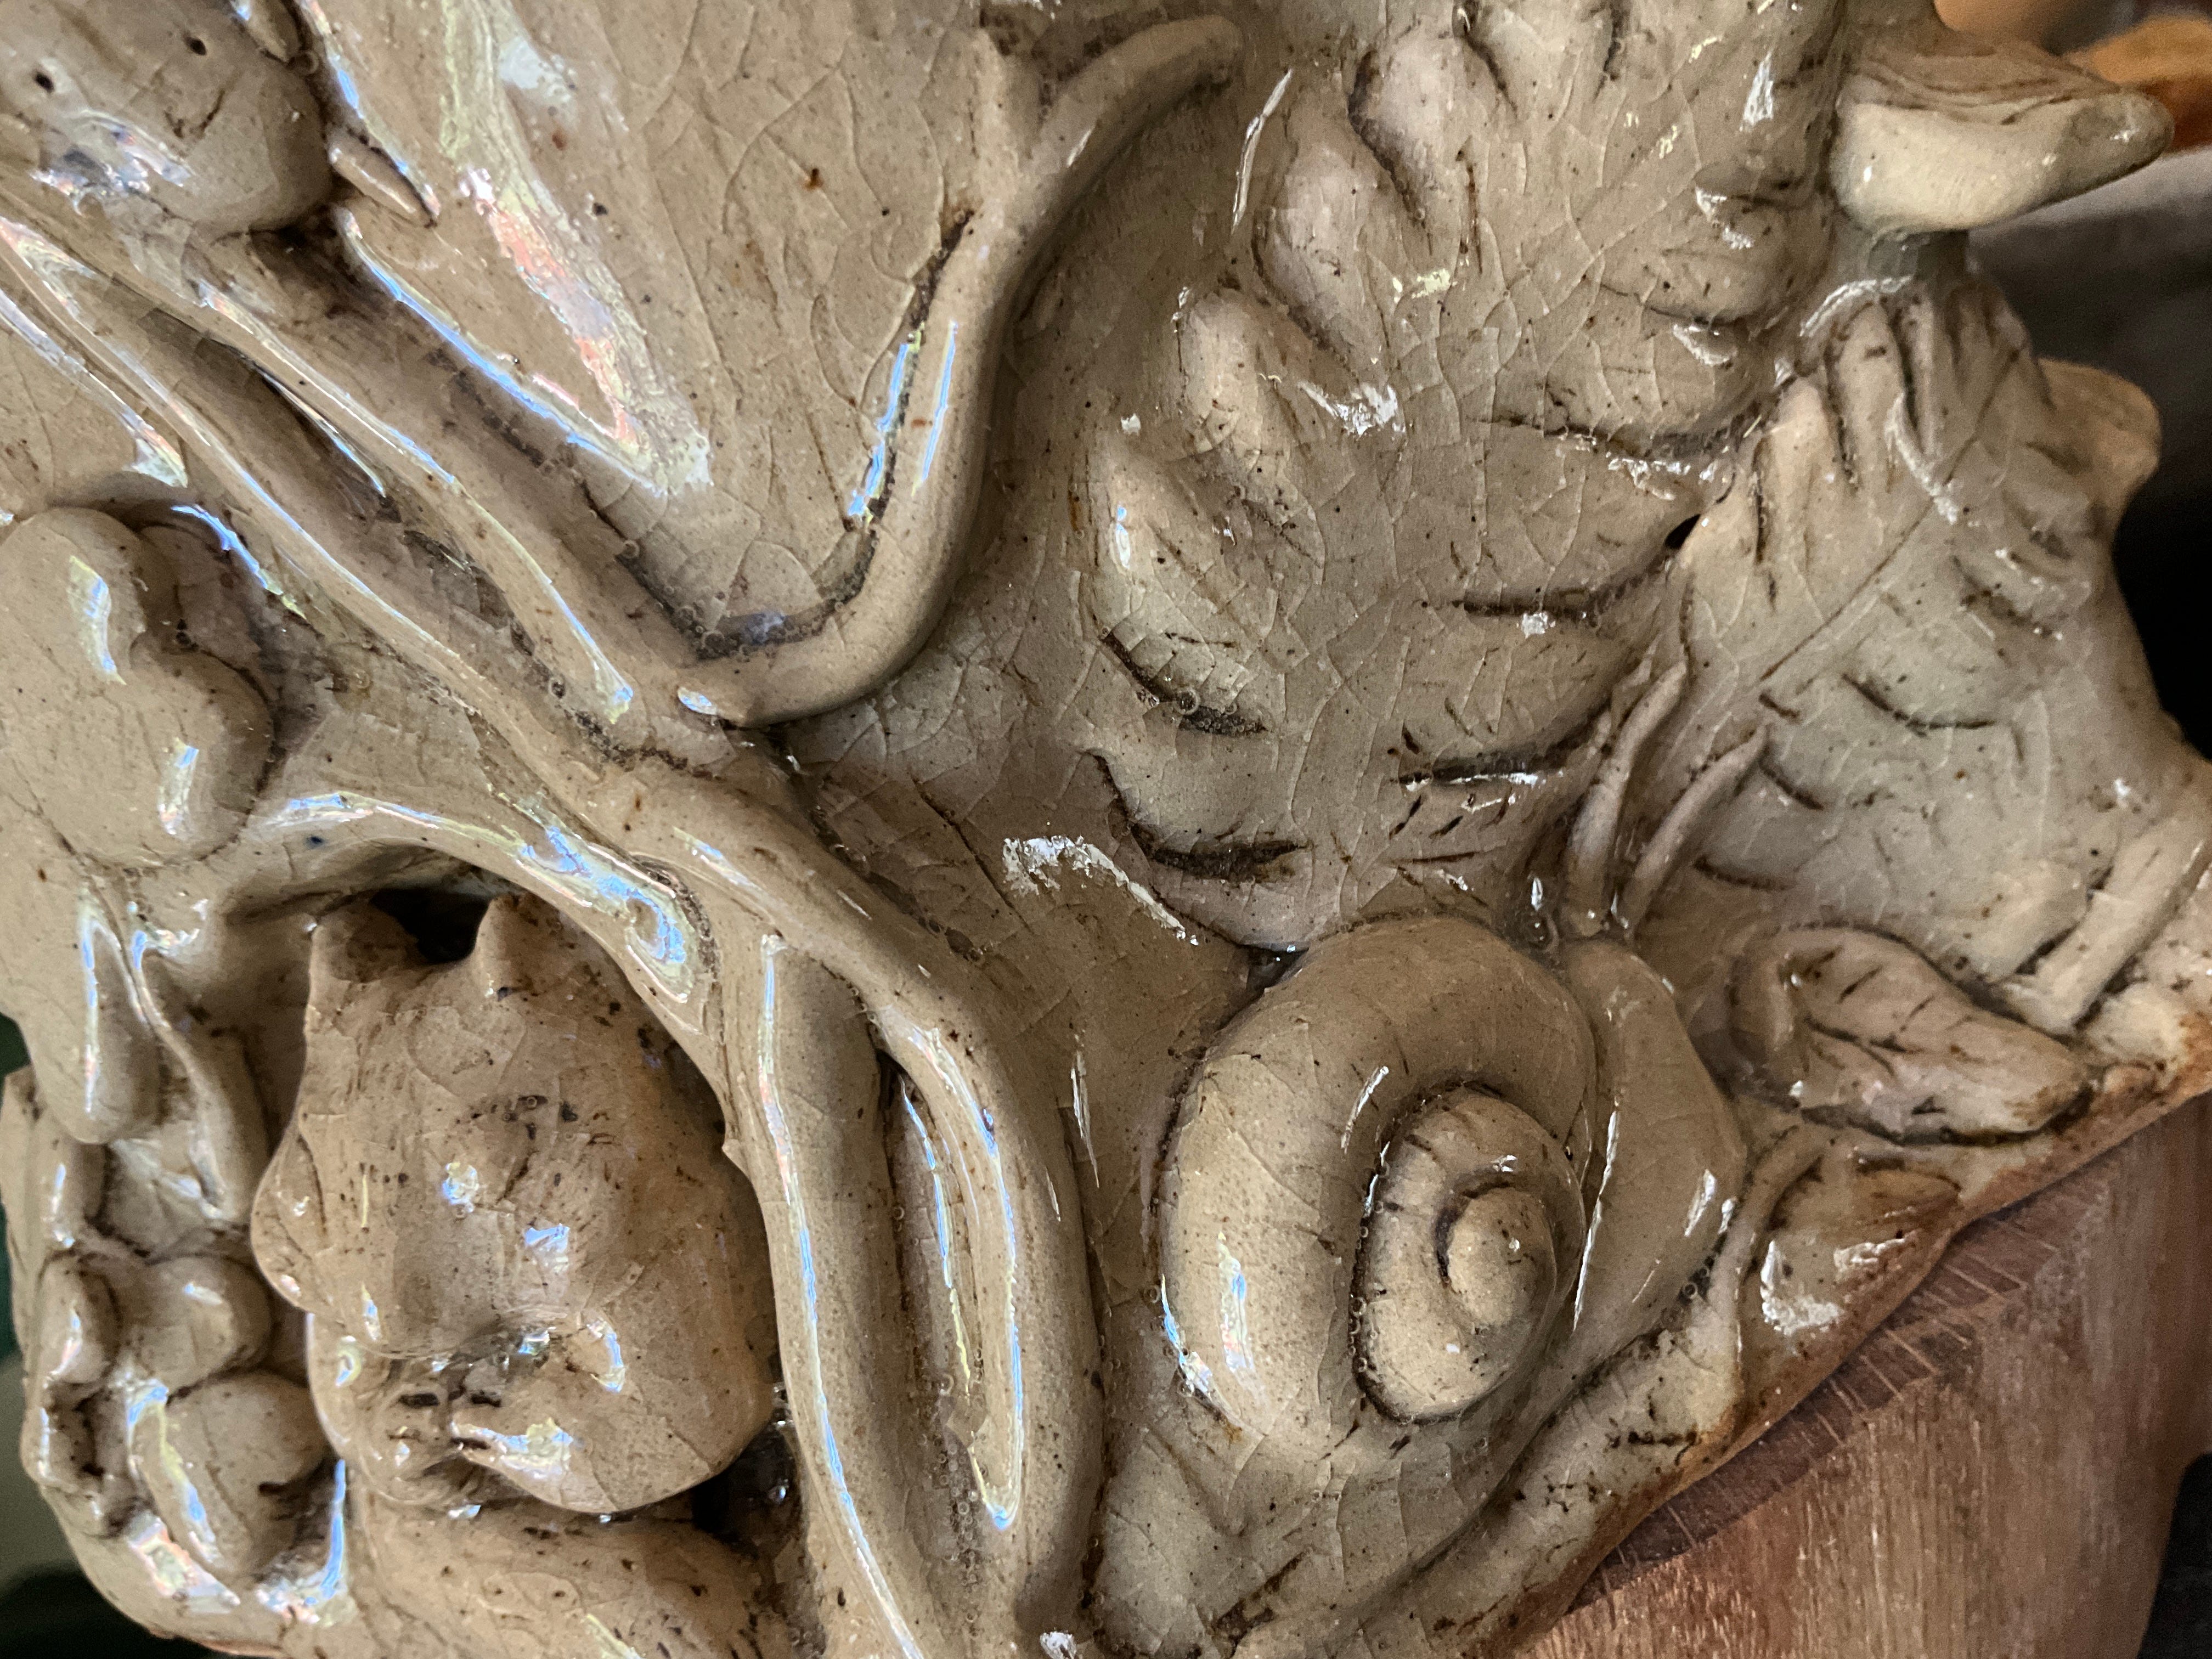
Glaze is finely ground, solid material suspended in water. Bisqueware may be sprayed or brushed with glaze; in my case I dunked it into a large bucket. Bisqueware is extremely porous and will immediately begin to absorb the water in the glaze; the longer it is held under the surface, the thicker the glaze becomes.
I was taught to count to three; I counted one-Mississippi, two-Mississippi, three-Mississippi, and the Mississippis were enough to add too much time, and too much glaze. Notice how thick the clear glaze is in the photo above? Had I made this mistake using a solid color, much of the sculpted detail would have become hidden.
Problem: Glaze application is too thick.
Fix: Wash and scrub it all off, then wait a day for the bisqueware to dehydrate, then re-apply. But this is time consuming and wasteful of the glaze.
Preventative measure: Count, “one, two, three” and remove the bisqueware from the glaze bucket before it absorbs too much glaze.
Proportions are off
Lastly, I really envisioned this project as a container to hold wooden utensils on the kitchen counter top. But I did not consider the ratio of height to width very carefully; utensils lean far off to the side when they are placed in my container.
Problem: Container does not function as intended (to hold wooden spoons).
Fix: Adapt the project to hold nuts, candy, or a potted plant instead.
Preventative measure: Use some lightweight, long objects to carefully test the practicality of the project in the greenware stage, and adjust the height and/or diameter before the project is dry and unworkable.
The good news
All this is to say I learned from my mistakes, and I’ll do better next time! I think I got caught up in “form over function” with so much attention paid to the highly detailed, sculptural parts of this project. But, I don’t regret anything, and I’m still pleased with the outcome. If you take the workshop with me, rest assured that I made these mistakes so that you might avoid them later! (You can register at the button below.)
Demo video
For my Paid Subscribers*, I’ve included a nice, three-minute video demo showing the process from start to finish—including concept sketch, construction methods, creation and attachment of sculptural elements, a 360 degree view on all sides, application of finishes, and final, glazeware project. Special thanks to Bri, Chloe, Matt, Cheryl, and everyone in the ceramics studio community who gave me pointers, suggestions, and encouragement!
*Video will unlock for Free Subscribers at some point in the future. Or, support my newsletter and watch immediately!
Keep reading with a 7-day free trial
Subscribe to Artist's Cheat Sheet to keep reading this post and get 7 days of free access to the full post archives.