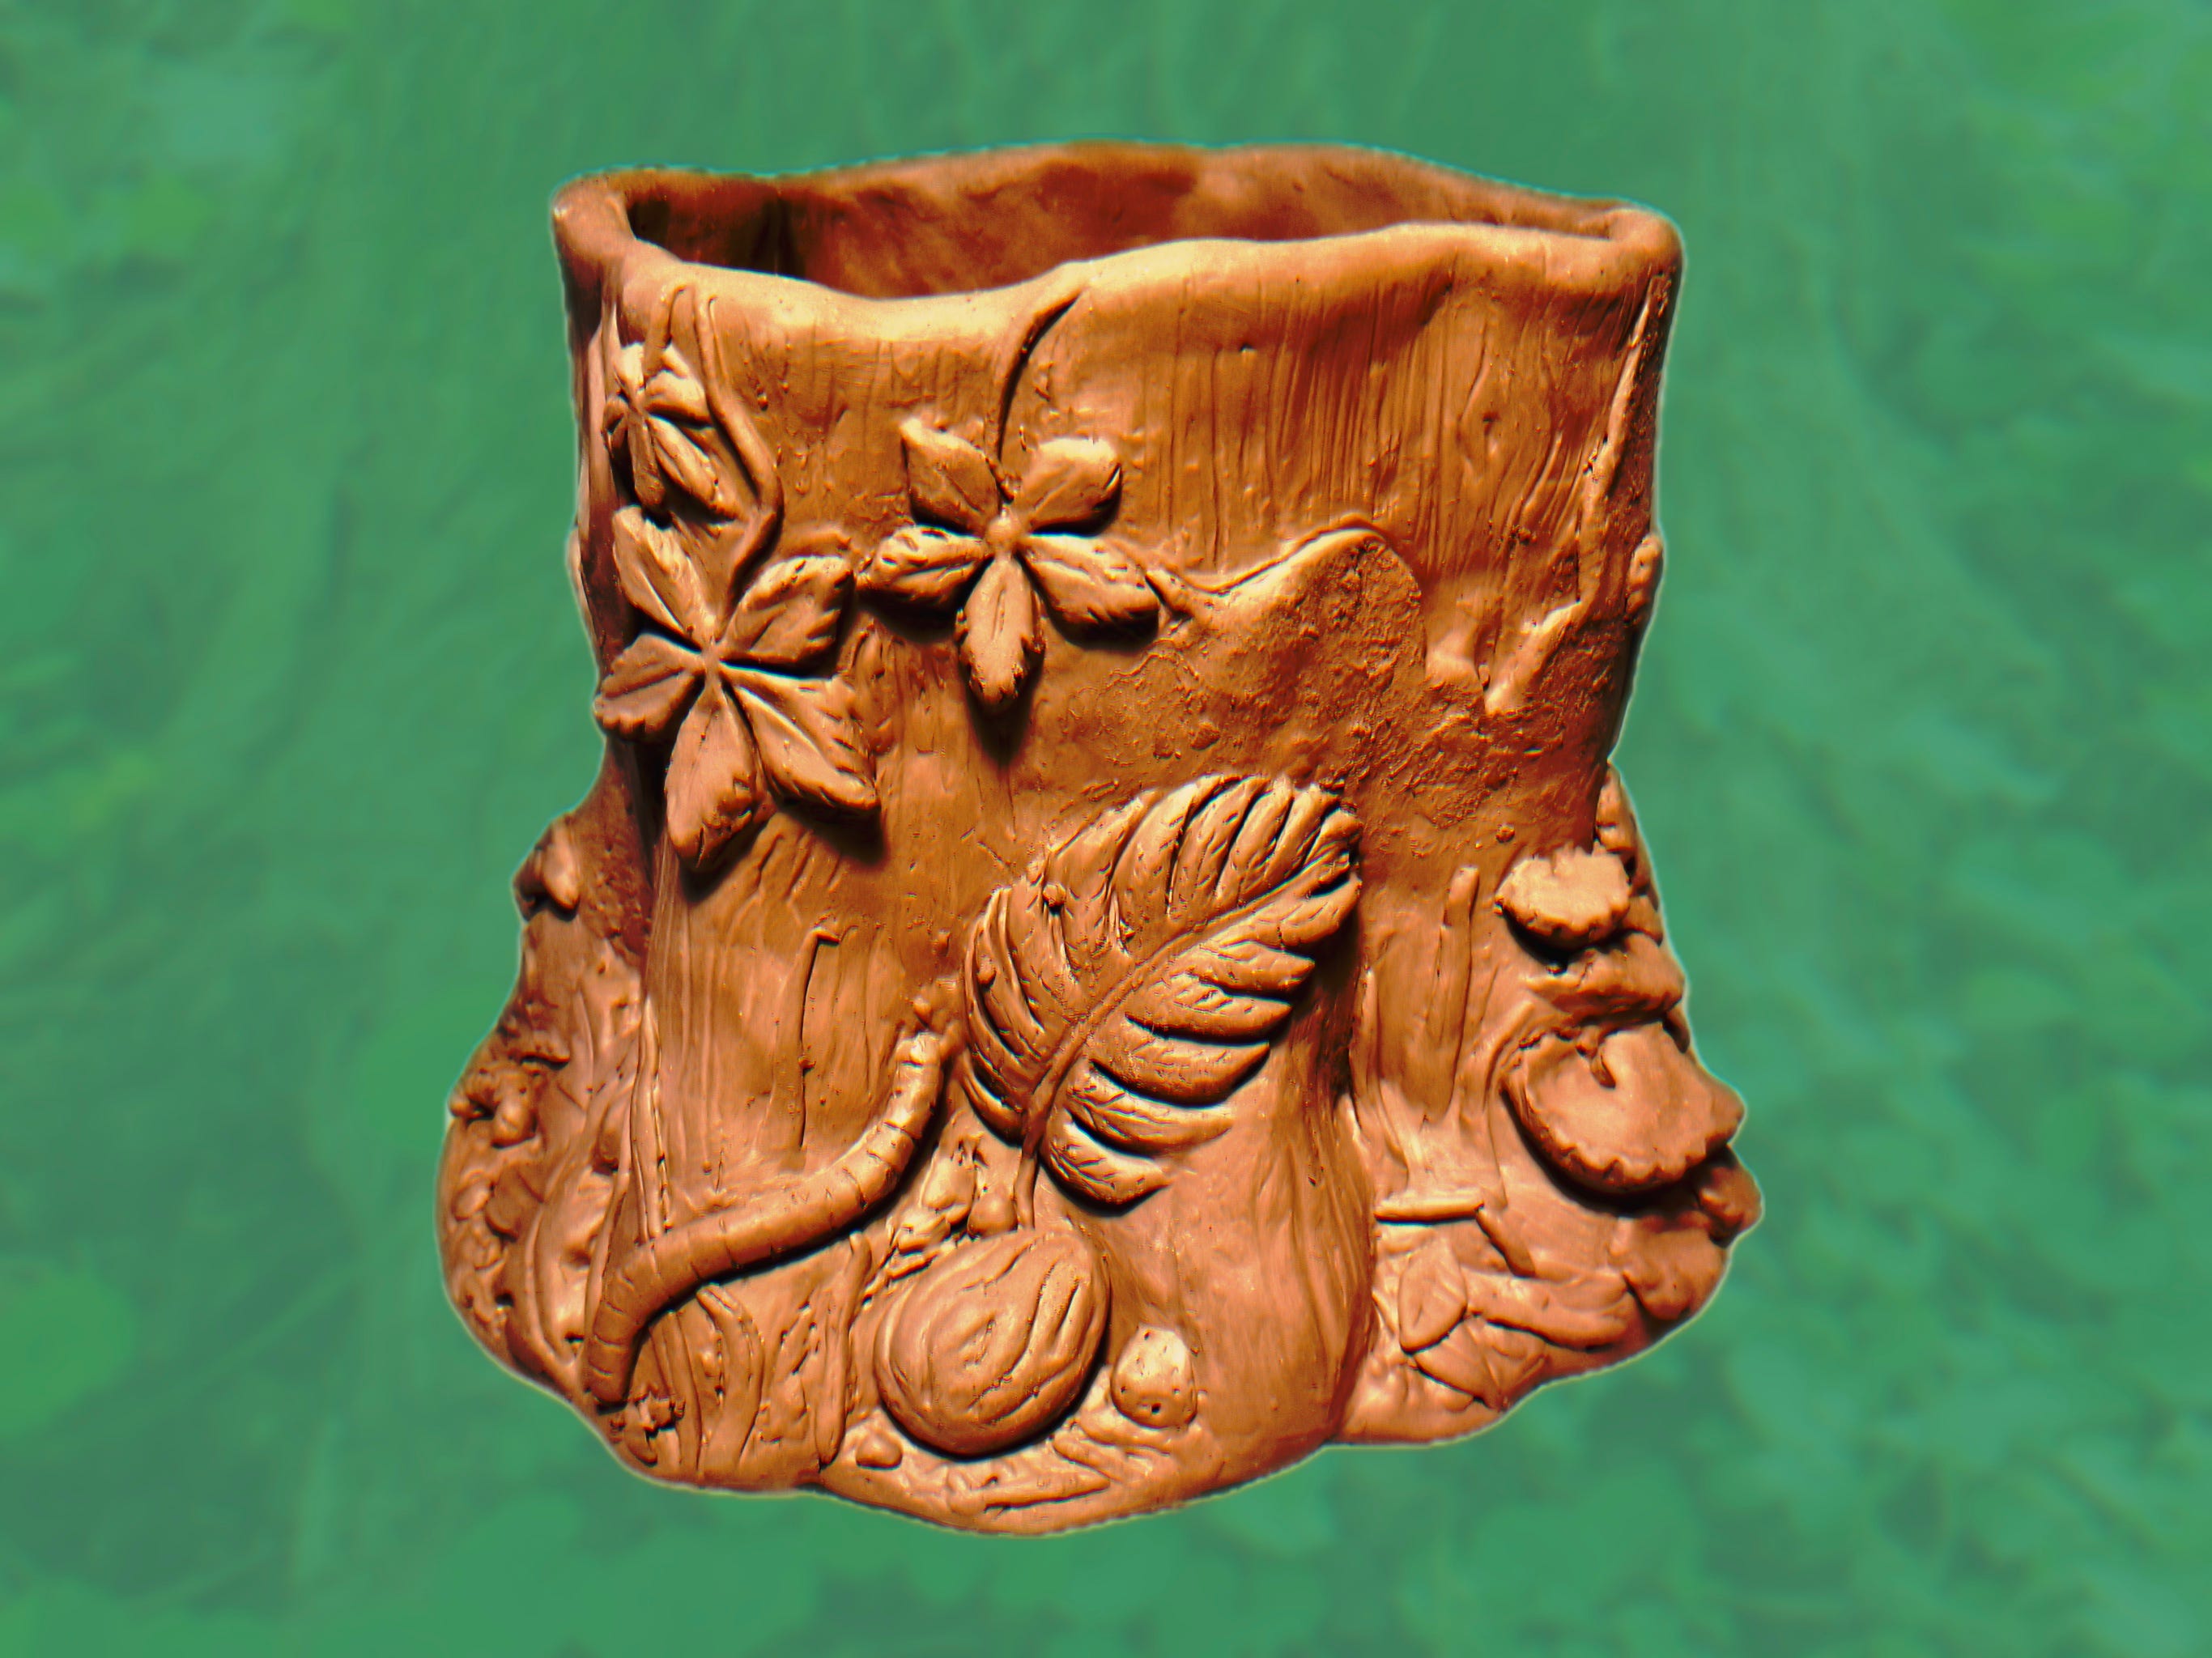
In a future post I’ll share more about the process of how I made this highly detailed clay vessel depicting an old woodland stump featuring creatures and plants of the forest floor. For today I’d like to talk about fixing the cracks that appeared as this piece dried!
Greenware, uneven drying, and cracking
Greenware is clay in its dried, but not-yet-fired form. Since it has not been fired in a kiln, it is not yet ceramic, and it is very brittle! When clay dries, it shrinks. If certain parts shrink faster than others, cracks may appear.
In my haste to dry this piece, I left it unwrapped and near a fan. Thinner parts like the walls dried quickly, while the thick base retained moisture. Radial cracks began appearing in the base as the drying outer areas tried to shrink around the damp central area.
How to fix cracked greenware
The best practice is to not let your piece crack in the first place by properly managing the drying rate. What I should have done was to lightly mist the sculpture and wrap it loosely in plastic. This would have helped distribute moisture and would have promoted an even drying rate.
While sculpting, be sure to mop up puddles of water that may be forming on the floor of the vessel with a sponge, or a sponge tied to a stick with a rubber band for hard to reach areas.
There are a couple approaches to fixing greenware once it has already begun to crack. One involves making a slurry of paper pulp and clay to repair the damaged area. Another uses vinegar, which was my approach.
I haven’t seen if this works yet, so I’ll let you know in a future newsletter. In the photo above, I’ve located one of several cracks, and excavated the clay with a needle tool to fully open the area and release tension. With a drill bit I expanded each end of the crack to prevent it from traveling any further.
Then I made a slip of clay and vinegar, blended until pasty and slimy. Using my hands and wooden sculpting tools, I packed in the damaged area with the vinegar-clay slip. I later topped it up as it slightly shrank.
Lastly I sprayed the thin areas of the piece with water, draped it in damp towels and wrapped the whole thing in plastic. Wish me luck!
Make a woodland critter vessel with me
If you’re in southeast Pennsylvania and you’d like to learn to make one of these pots, which I envision as a flower pot or utensil holder, I’m teaching a workshop in July, and another in the autumn. The autumn one is not yet listed, however you can register this week only for the July event at this link.
I’d love to see you there!