


Vintage Citrus Fused Glass Coasters
How to bring a taste of the 70s to your next summer garden party

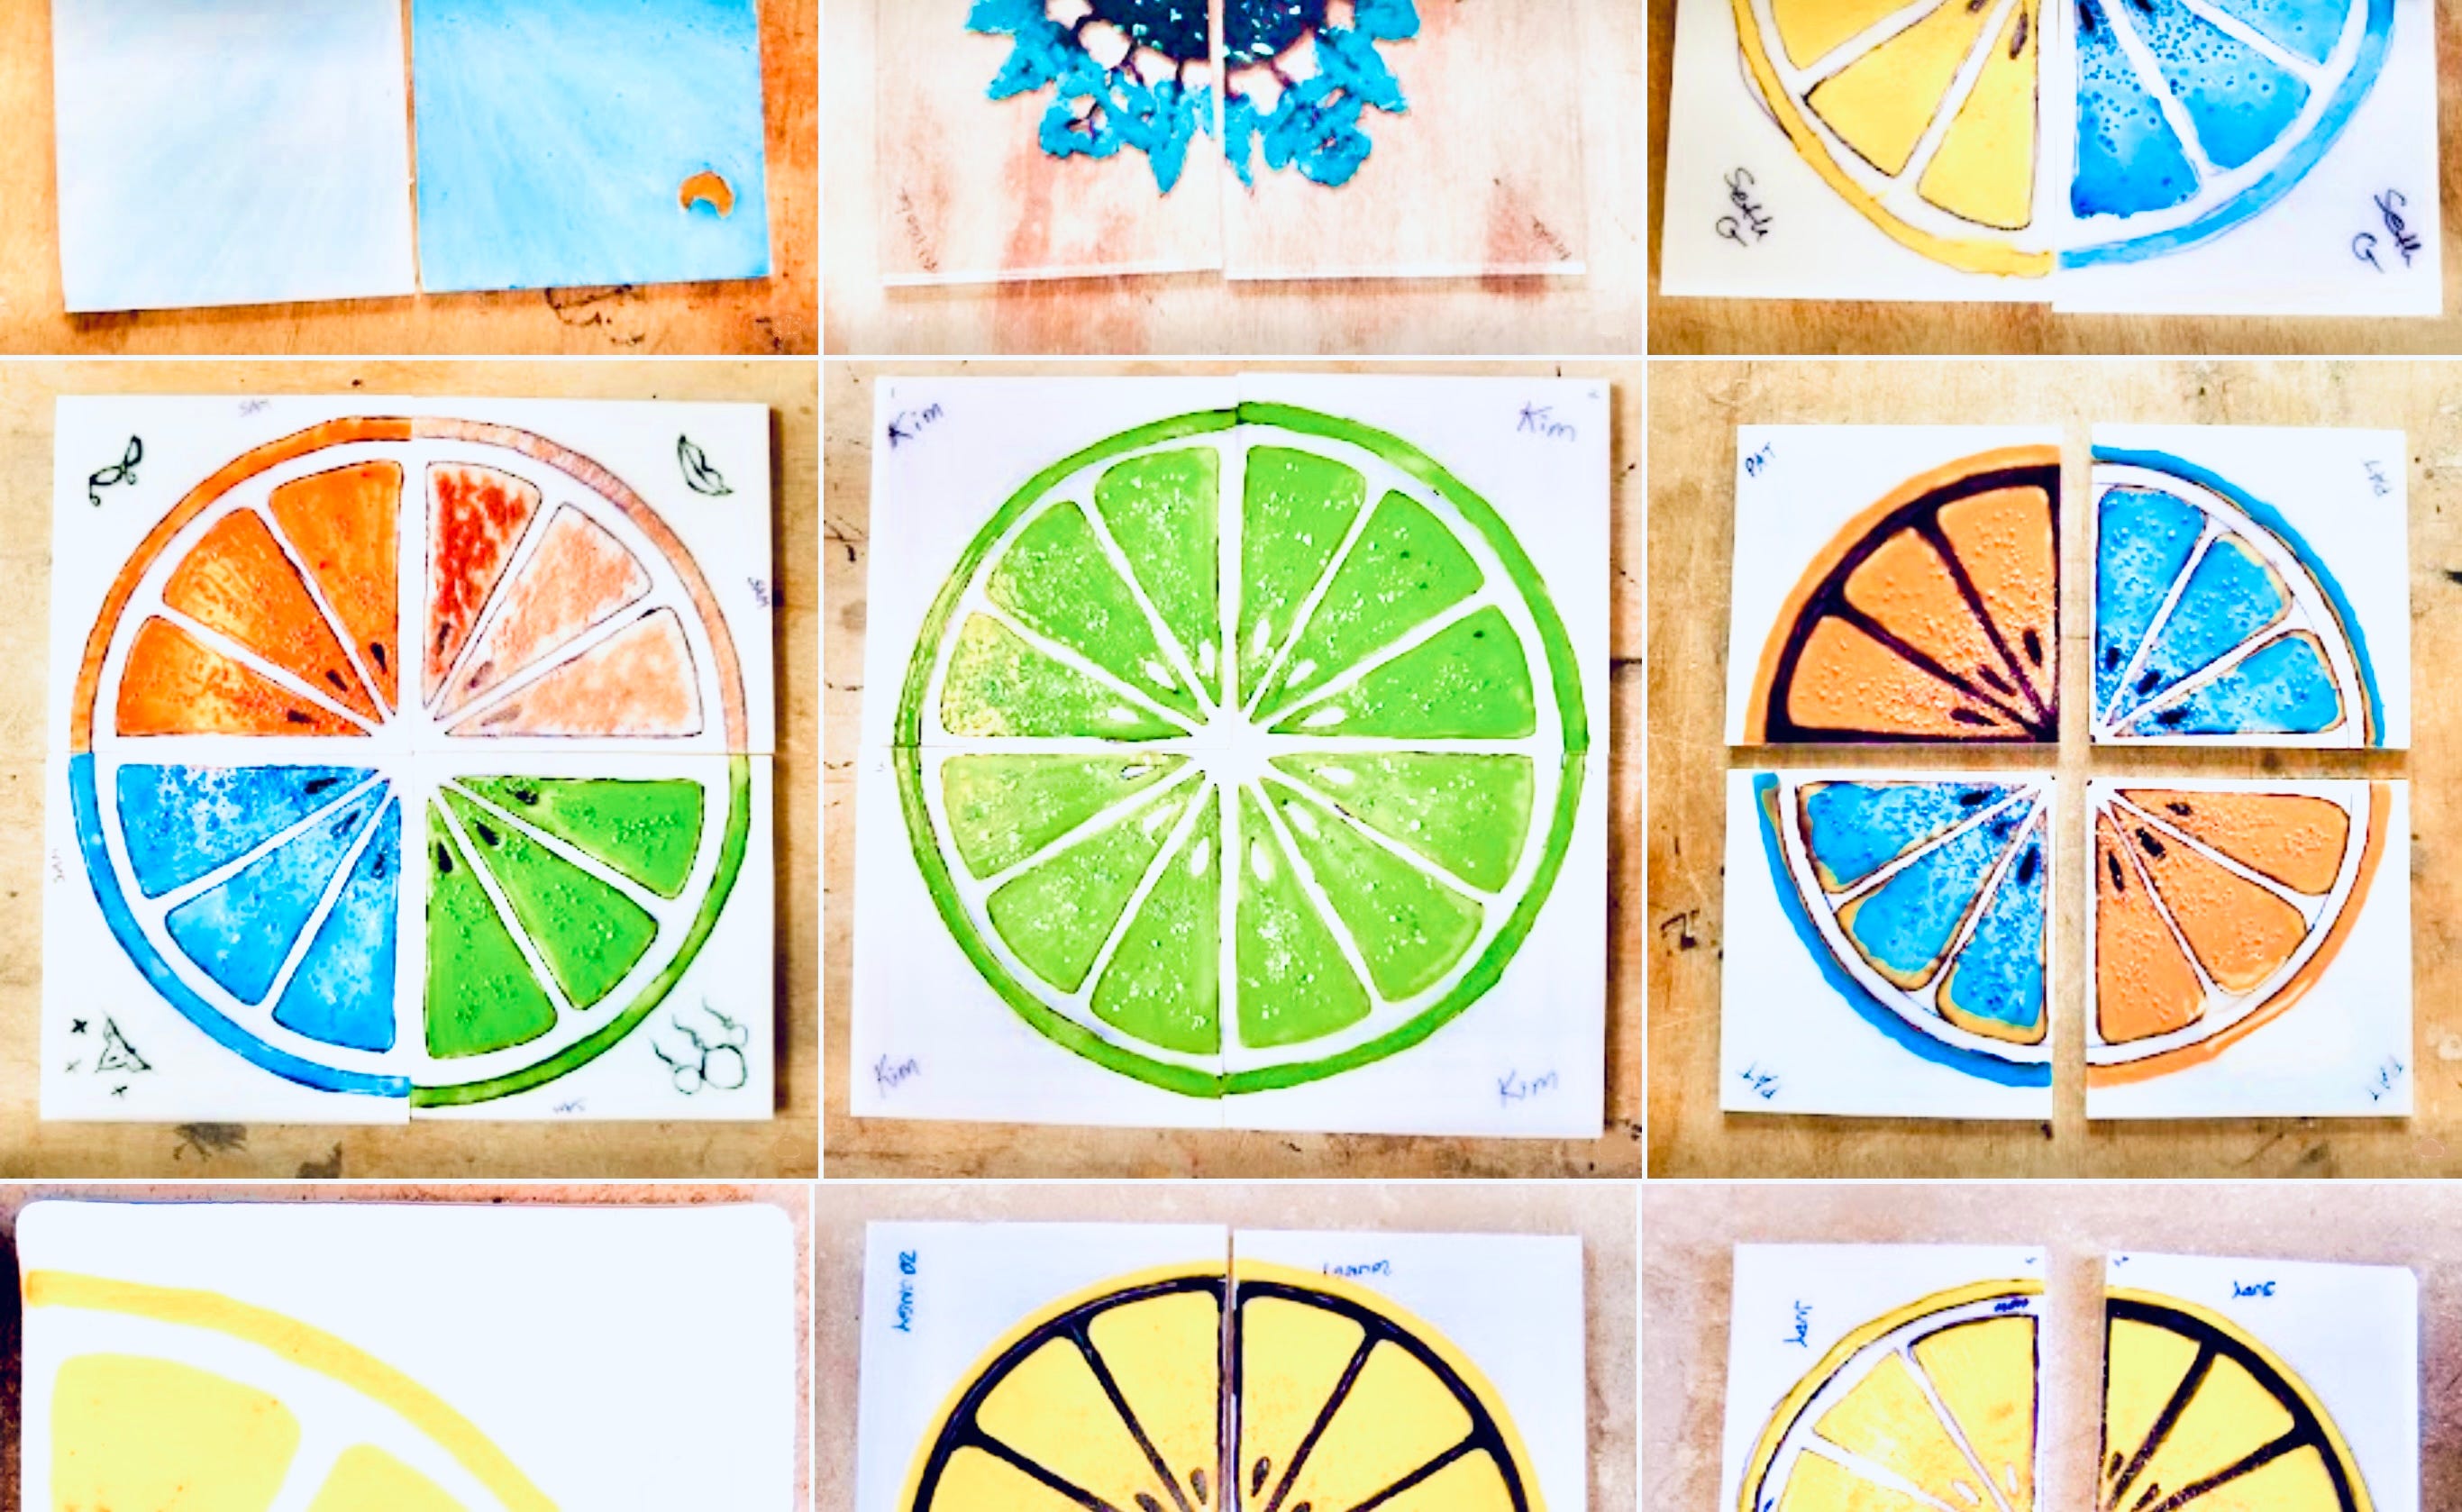
This weekend I taught a group of enthused workshop guests how to make a set of four, vintage-style, citrus-themed drink coasters. Our process was glass fusion, and we had a blast! If you’re curious about the fused glass process, read on for tips and inspiration. Students and Paid Subscribers have access to these class notes (and to all of my class notes)— if you’d like access, too, please subscribe!
Materials
To make a citrusy fused glass coaster set you’ll need these materials:
Citrus pattern (included at the end)
Glass of about 3 mm thickness, cut to 4 x 4 inch squares (4 pieces each of white and clear glass)*
Sharpie pens
Glass fusion paints like Color Line from Delphi
Paint brushes (about 1 cm flat and some fine, round brushes)
White Elmer’s glue
Fine grade glass frit
Toothpicks
Cotton swabs
* Call local arts centers to see if fused glass workshops can be hosted, then gather a few friends to reserve a private lesson using these plans. For the sake of interest, glass in this project needs to be between COE 90 and 96– COE means “coefficient of expansion,” the rate at which the glass expands and contracts in the kiln. Don’t worry— the studio tech will take care of this for you!
Step 1: Arrange your glass
Place your four pieces of white glass on the table in a 2x2 grid pattern. Rotate the pieces (which may be cut slightly out of square) until they snuggly fit together.

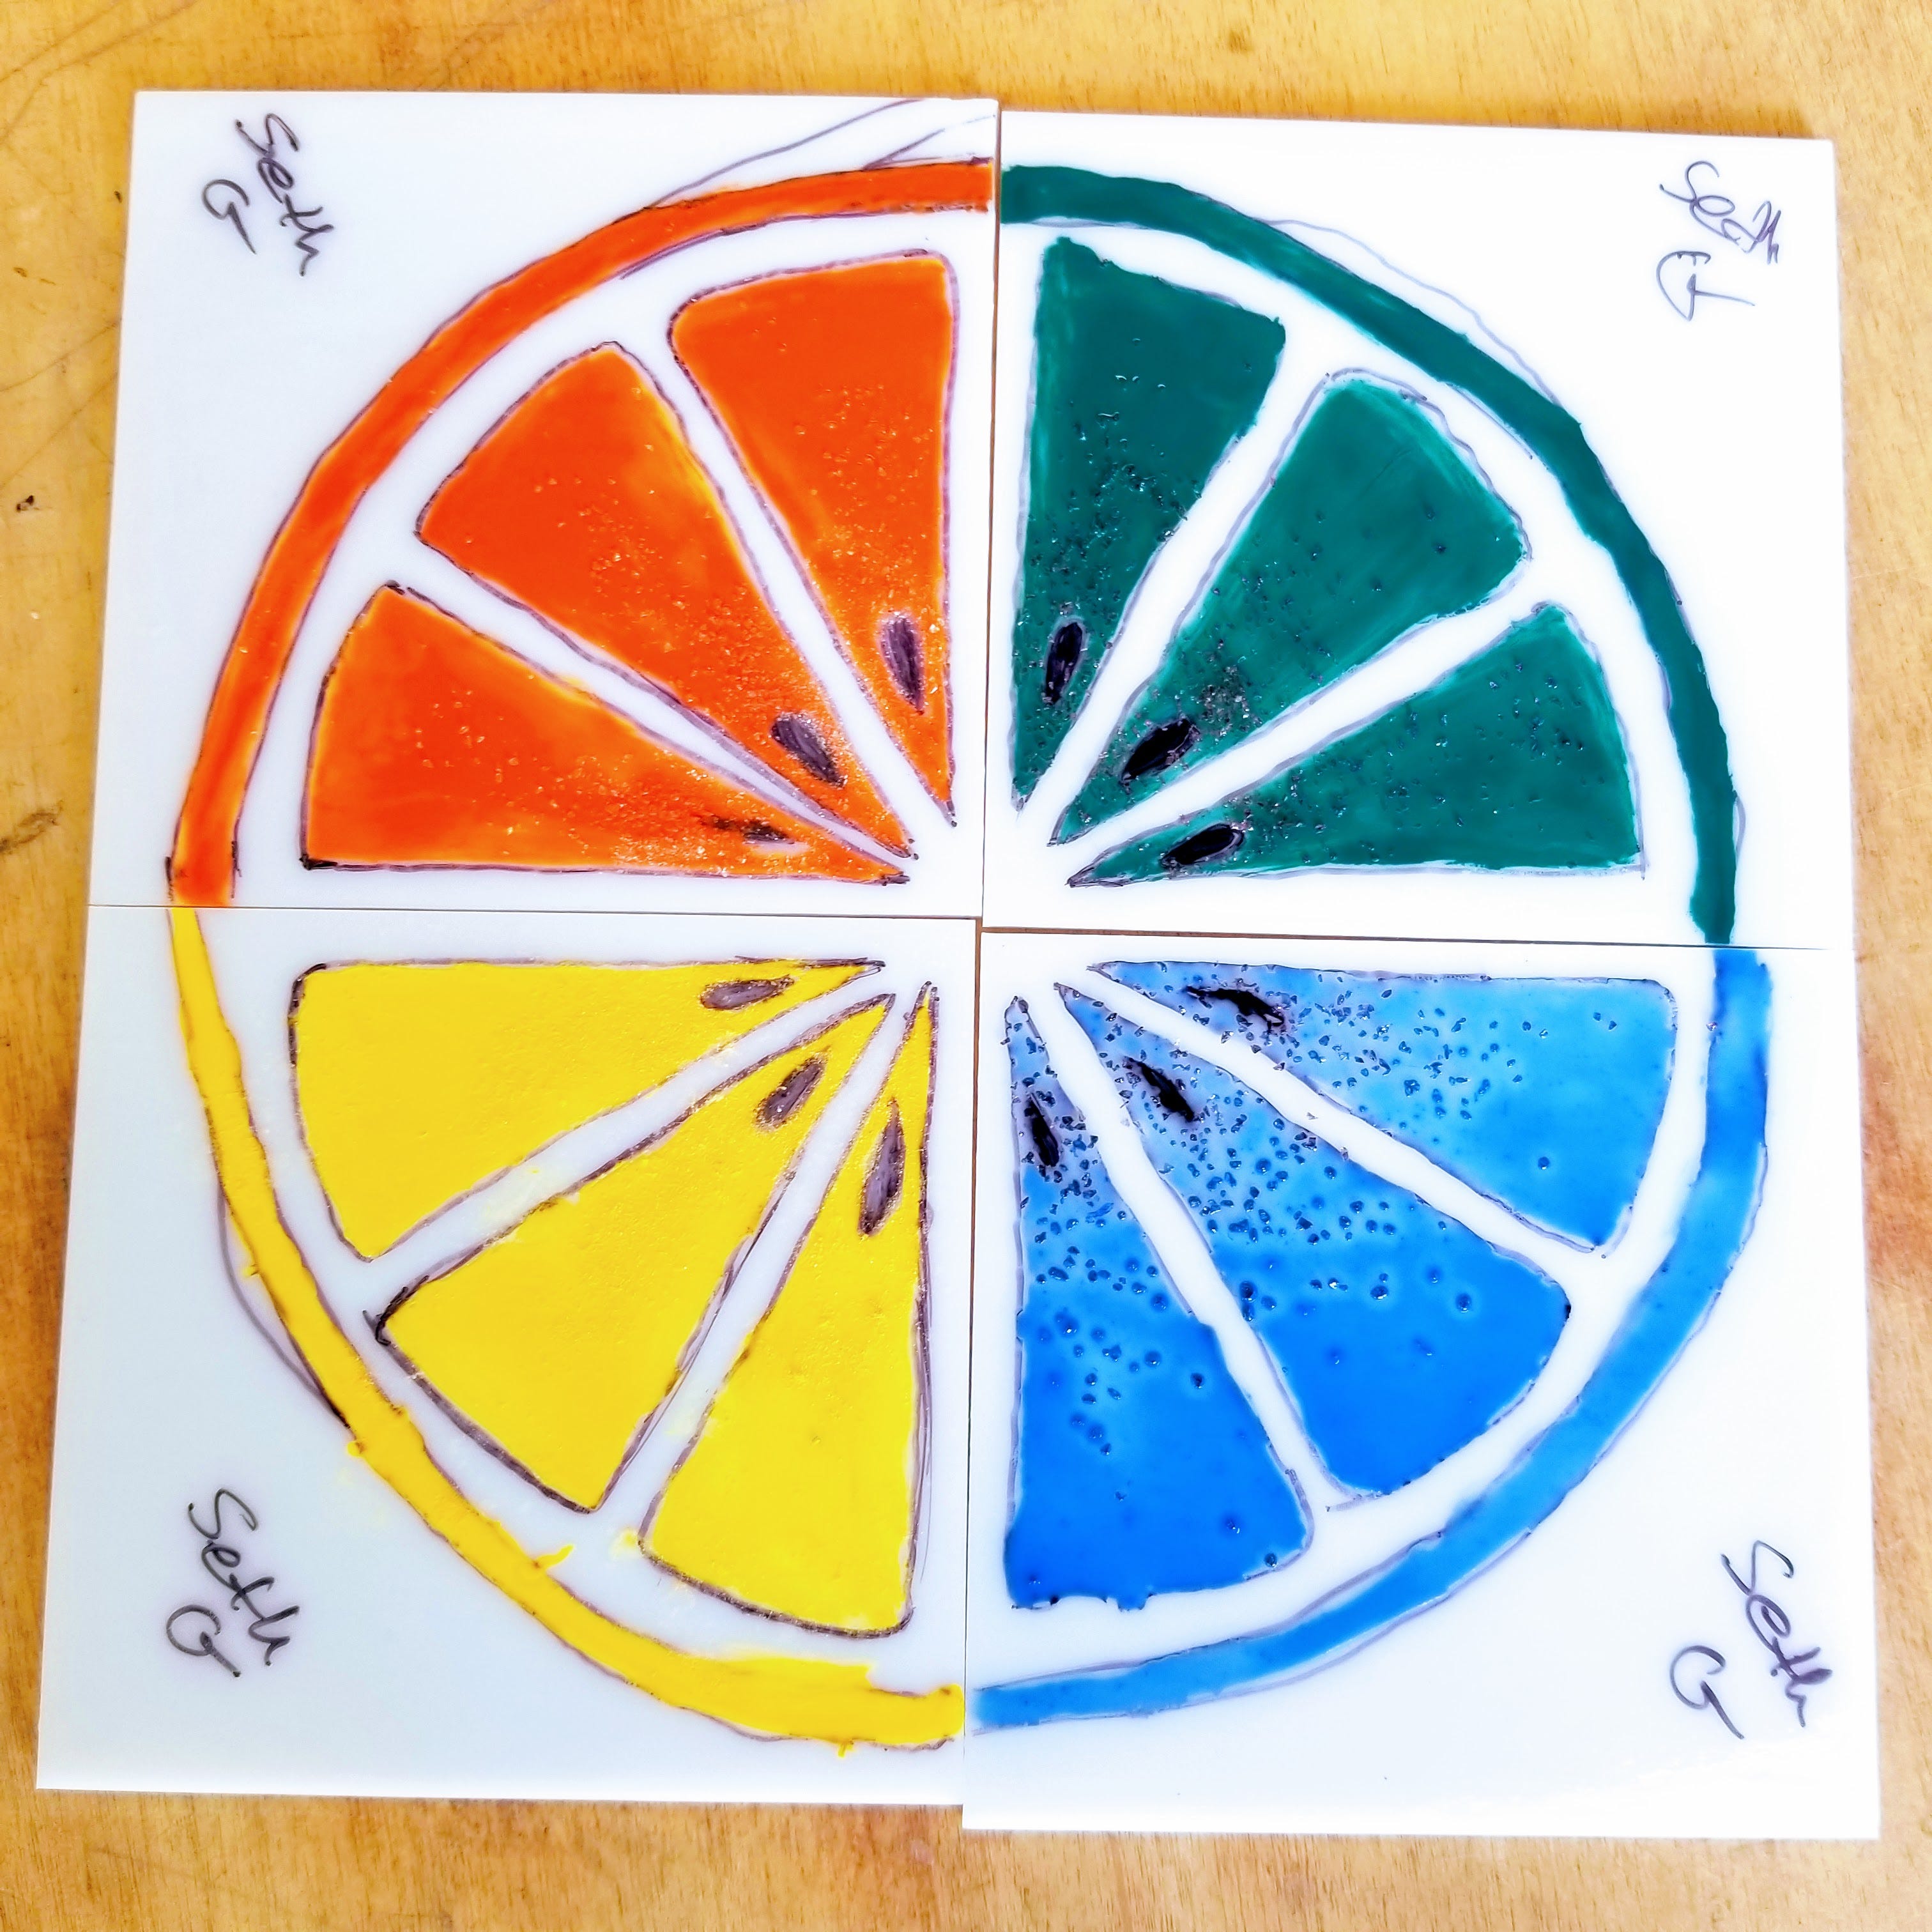
Step 2: Trace
Using the included citrus pattern, trace the design with a black Sharpie onto the four pieces of glass. The Sharpie should demarcate areas of the citrus wheel that will be white— in the kiln the Sharpie will burn away. Caution— certain metallic Sharpies will not burn away! A light table or window may be useful for tracing.
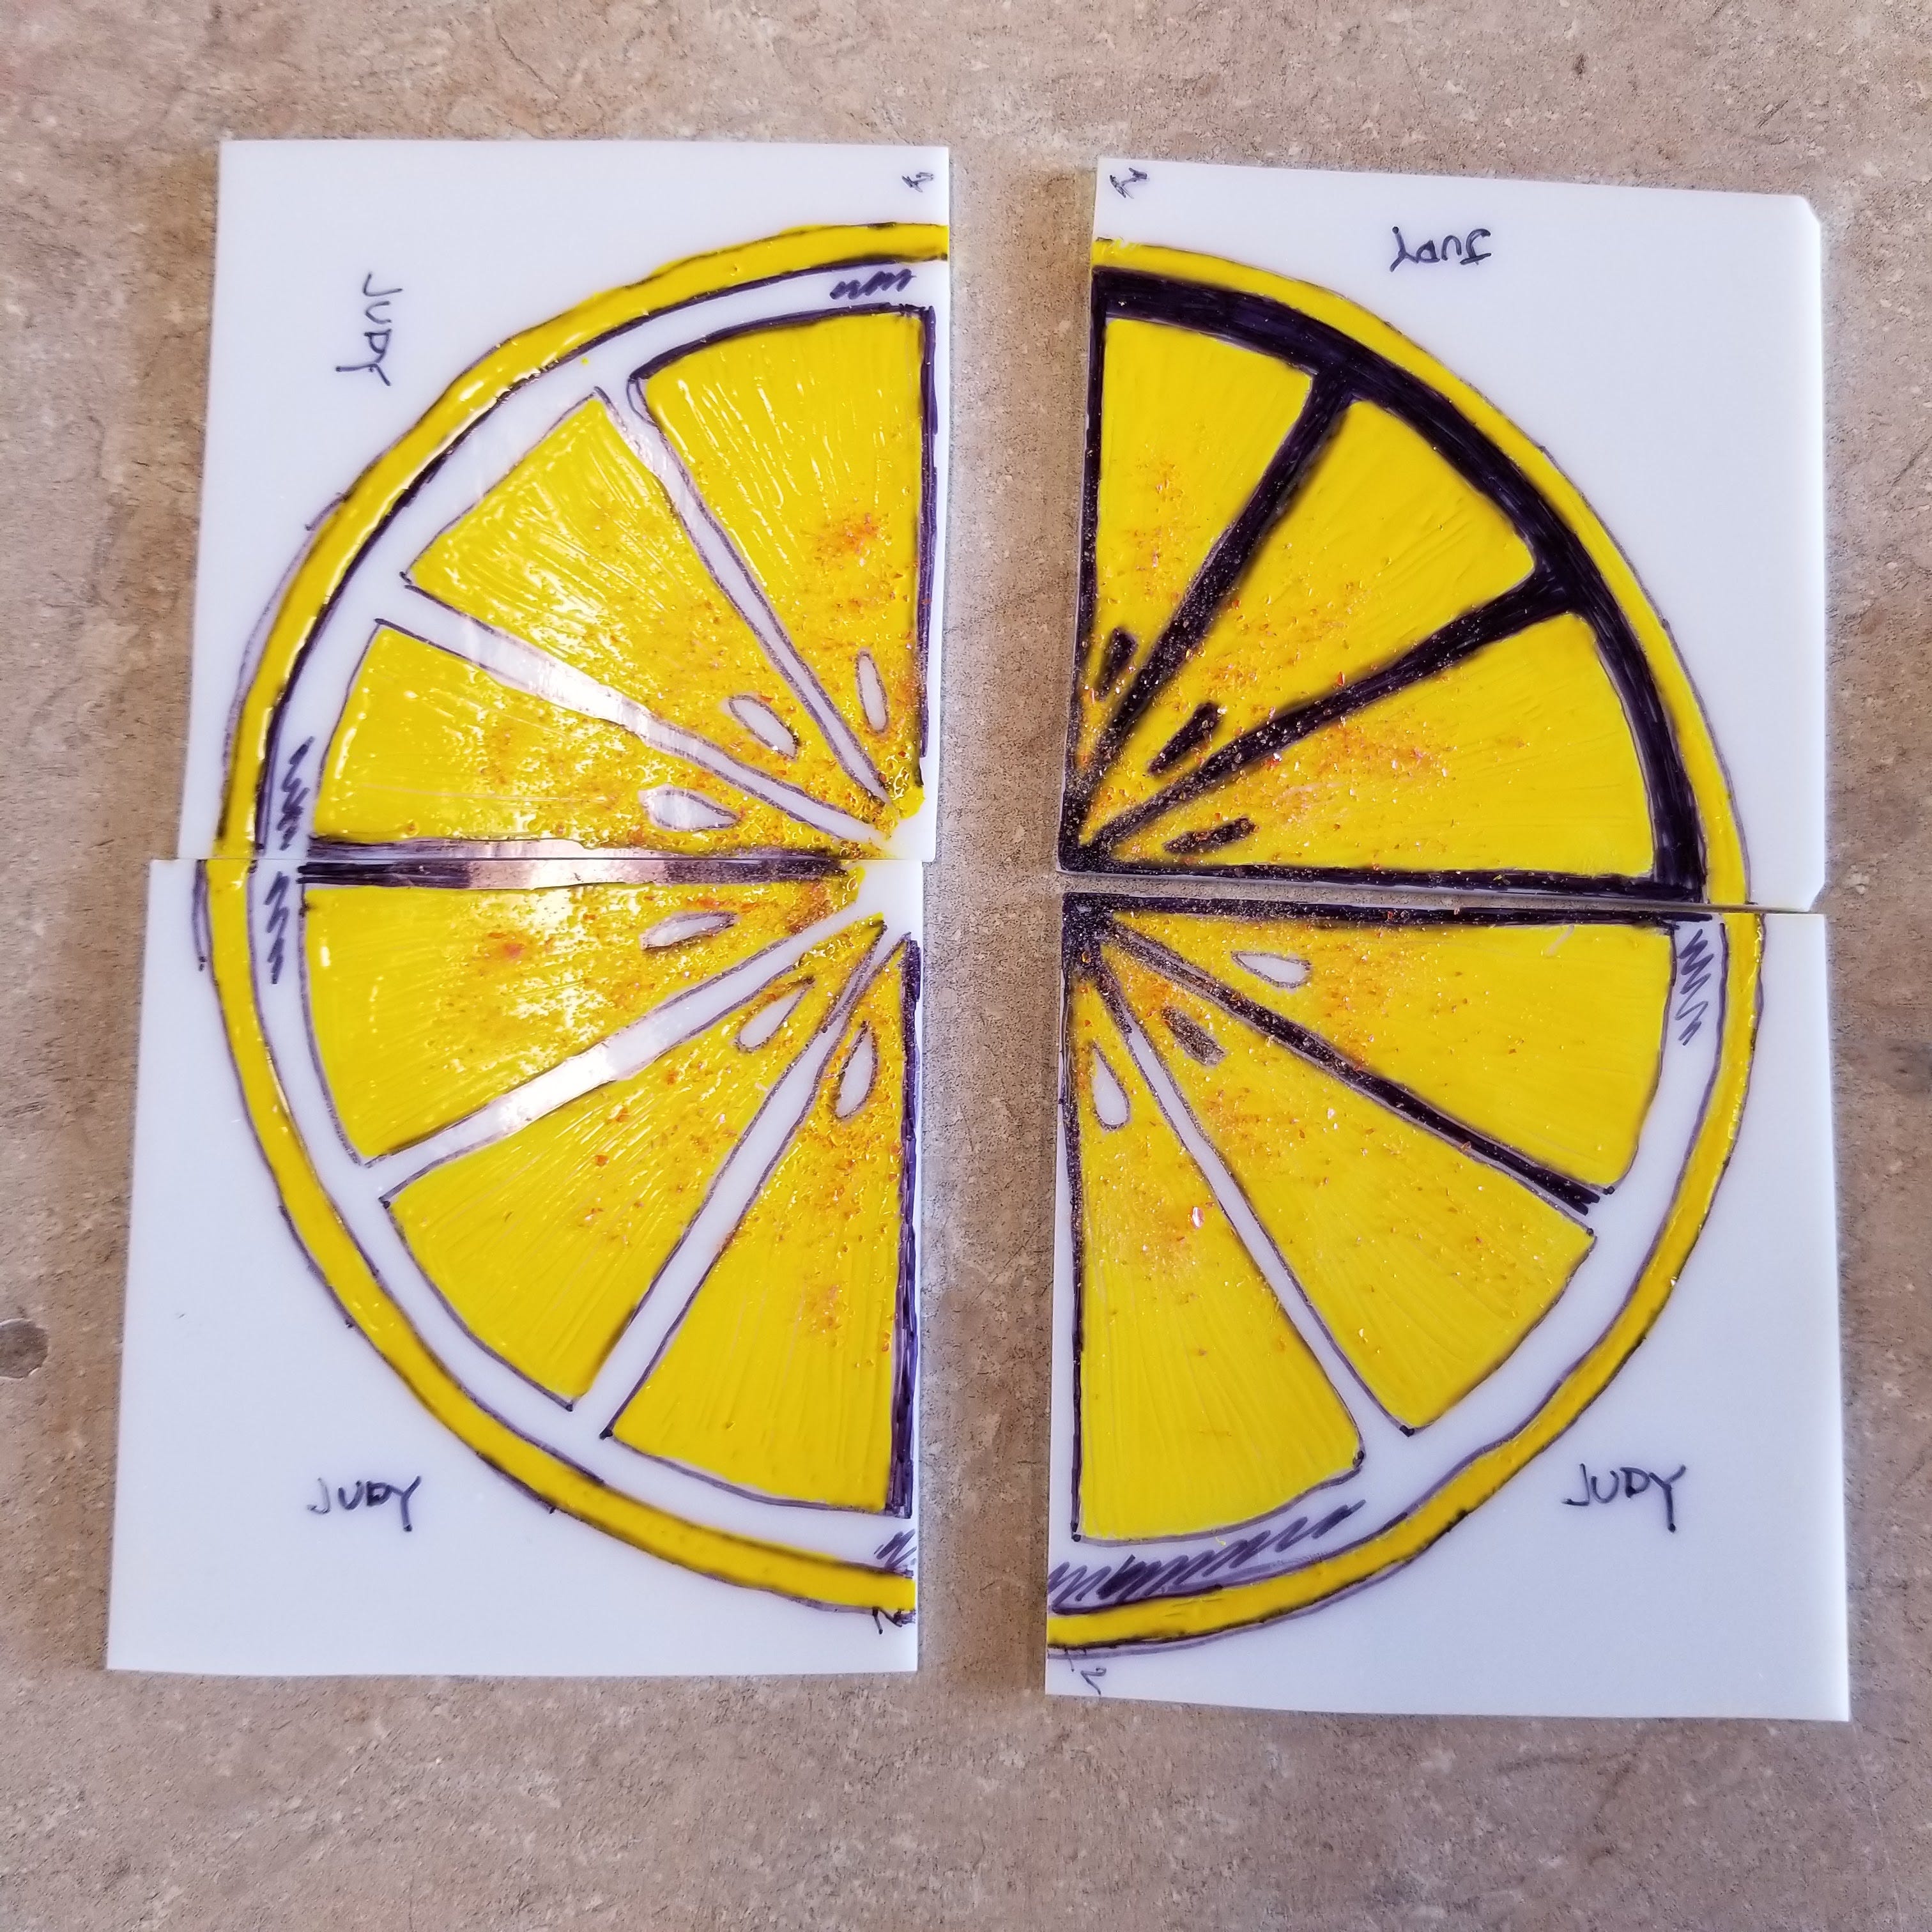
Step 3: Paint
Using glass enamel paints such as Color Line from Delphi, paint in the sections of your citrus fruit. I had success using a flat brush about 3/8 inch wide (one centimeter), and a finer brush to get around the tight areas.
Keep reading with a 7-day free trial
Subscribe to Artist's Cheat Sheet to keep reading this post and get 7 days of free access to the full post archives.